Ben Lomond mountain is a very popular hike in Queenstown, due to its accessibility and beautiful views. It’s practically in the city, but still sufficiently challenging and offers a great scenic view of the area from Lake Wakatipu, Arthur’s Point and Queenstown. It doesn’t take much effort to get on this hike – the trailhead starts just 10 minutes walk from Queenstown city center. And if you are pressed for time there are little shortcuts you can take too.
If you are looking for an itinerary for New Zealand South Island, you can check out my South Island itinerary overview here
Tips for hiking the Ben Lomond Track
- There are three ways to start the hike:
- From Lomond Crescent road
- from Tiki trail at the base of Skyline Gondola
- or take the Skyline Gondola up and then start the trail, which cuts down about 1 hour and 400m of elevation gain.
- Because it’s so close to Queenstown, the track gets mobile data access throughout. In my experience, I had at least one bar on 3G even in the most remote part of the track. I got 4G at the saddle and am pretty sure I still had minimal 3G at the summit (though I didn’t really check).
- The track gets graded “Advanced” on the DOC website, so please don’t think it’s going to be a walk in the park. While the track is clearly marked, it’s also steep and a long walk. It’s going to be difficult even if you’re fit! (PS: When we went, the track was graded as easy by them, which was soooo misleading!)
- During Winter / the start of Spring, there might still be snow (read: ice) on the path. So you should come prepared with sunglasses to protect your eyes from snow blindness and a pair of snow gloves. You can also consider bringing walking sticks to make it easier on yourself.
Hiking The Ben Lomond Track experience
Overview of the Track
- Distance to the summit: ~11km round trip from the bottom of Lomond Crescent
- Elevation: Saddle (1,326m) / Summit (1,748m)
- Elevation Gain to summit: ~1,450 meters from Lomond Crescent
- Recommended Time: 6 hours from Lomond Crescent – to account for rest and photo time.
How the Ben Lomond Track looks like
To kickstart our hike, we decided to park our car and walk uphill from Lomond Crescent. Note that there isn’t a dedicated parking lot but there is some street parking available along Lomond Crescent.
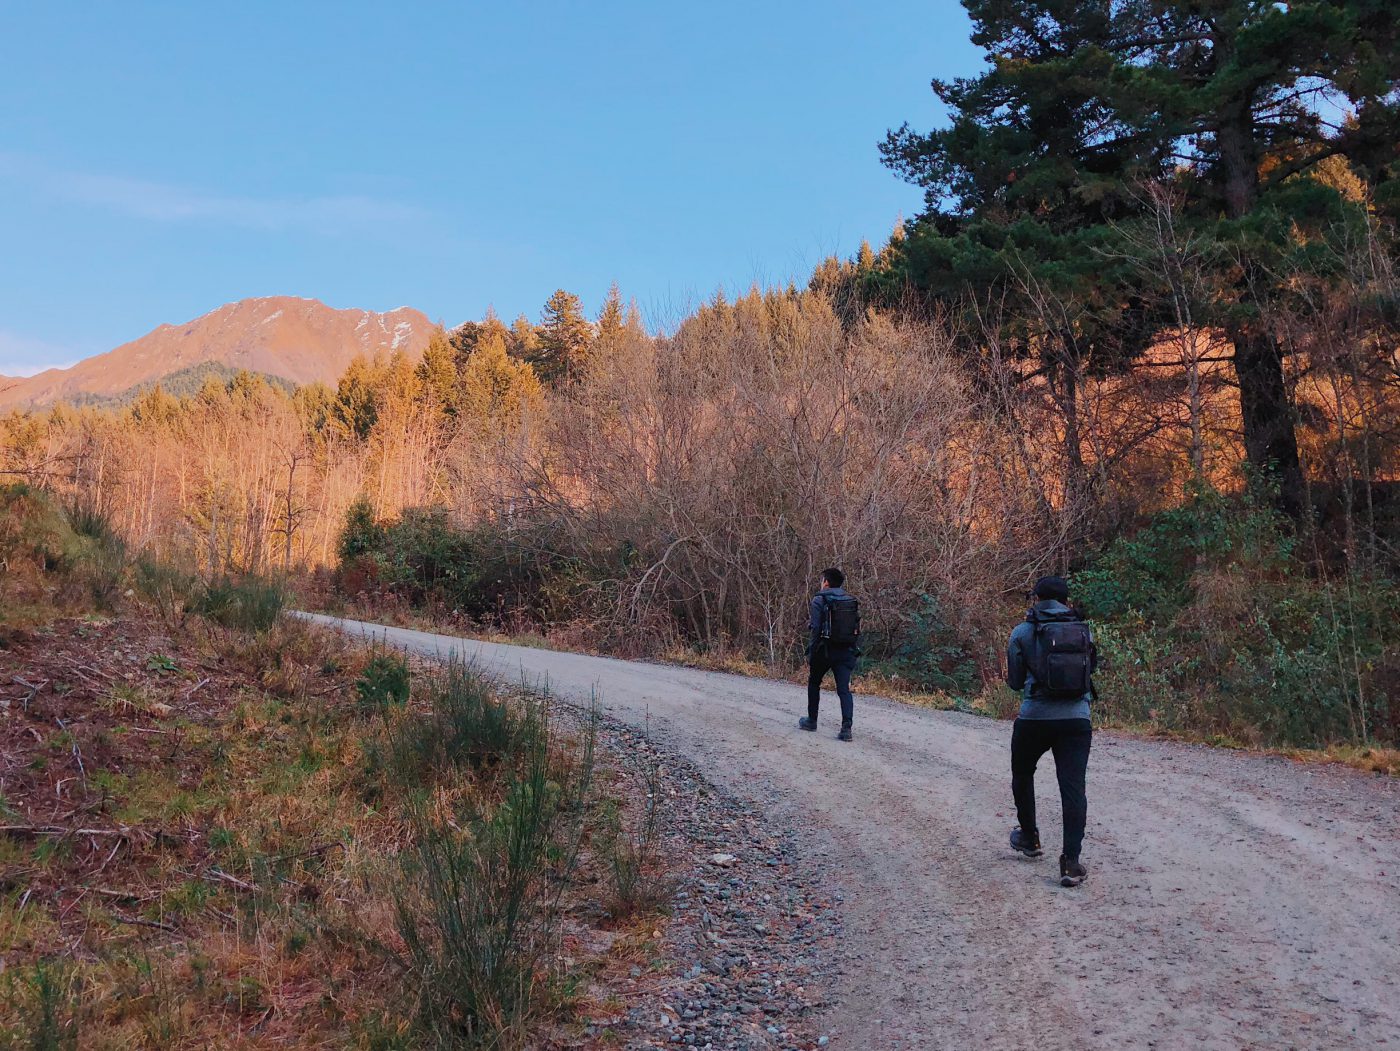
The path up from here is easy (all gravel) albeit a bit steep. After about 25 minutes of walking up, we finally came across the real start of Ben Lomond Track. It was marked by this green and yellow wooden sign by DOC.
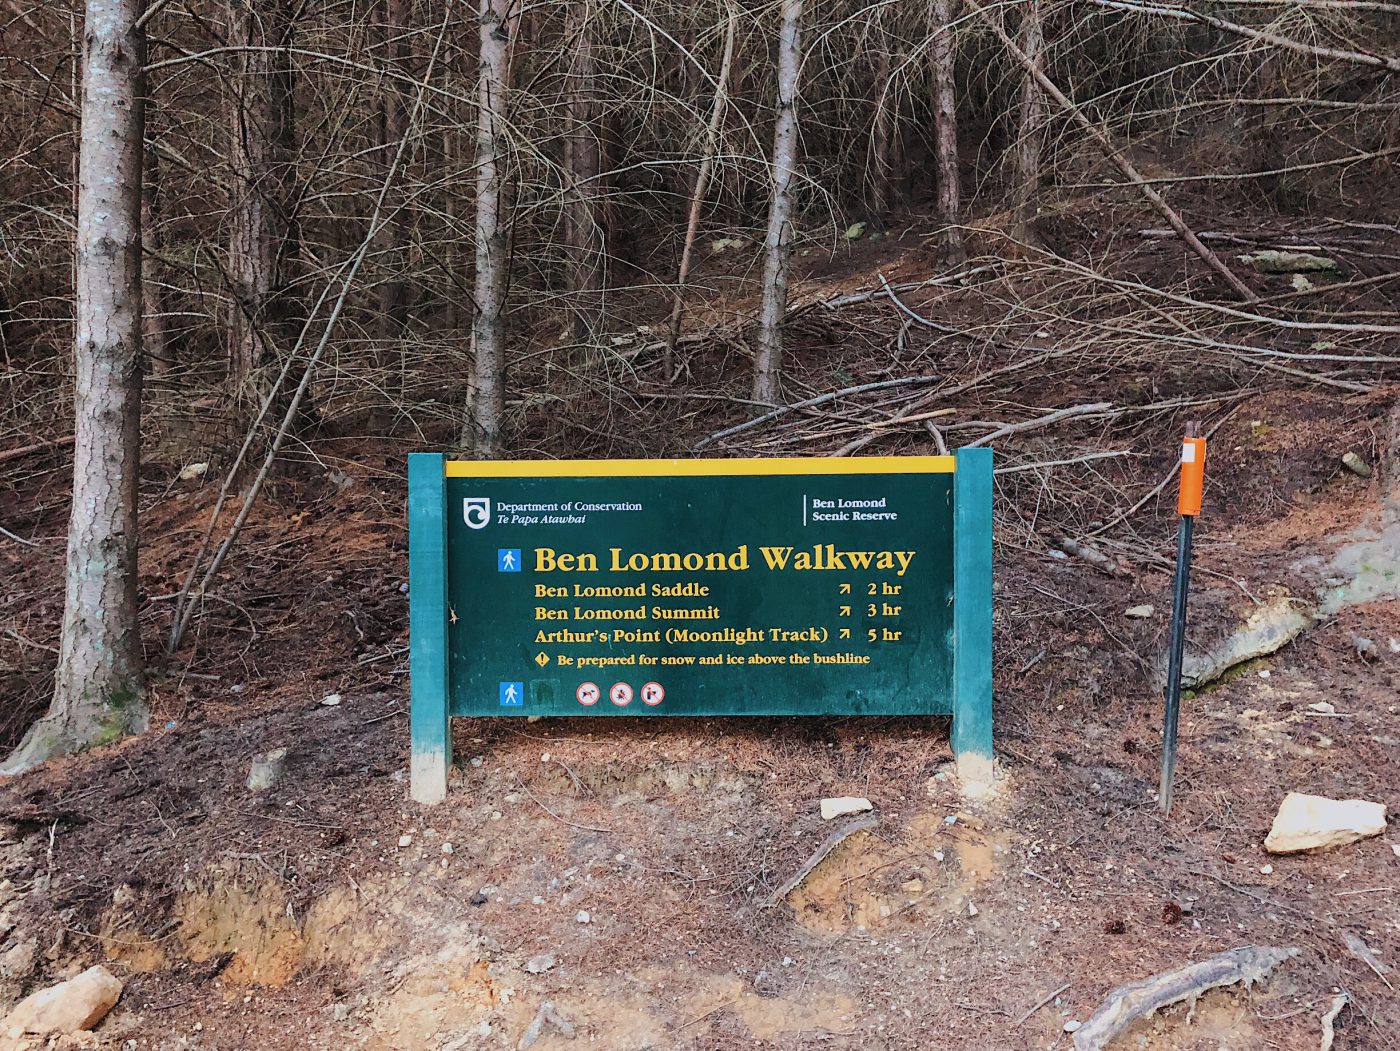
The start of the path is a thick forest of what looks like pine trees to me. From here on, it’s just a continuous uphill climb.
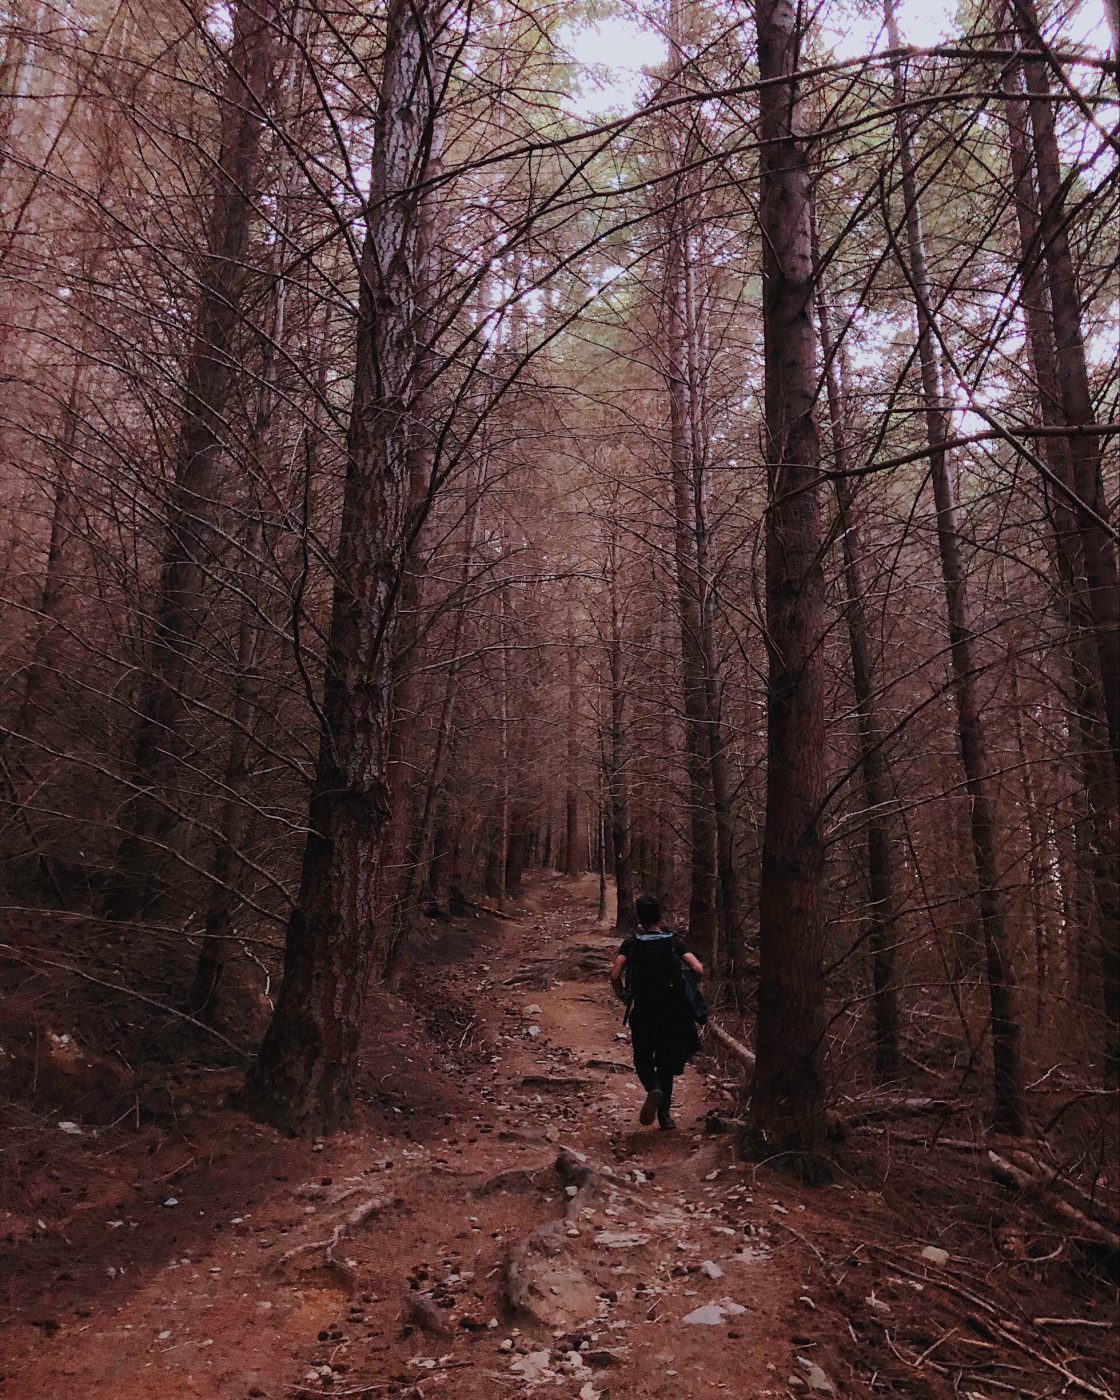
But the foresty part didn’t last long. 15 minutes later, we reached the first clearing and Ben Lomond’s summit can finally be seen in the distance. This is also when the path starts to get really scenic. When you look forward, you see can Ben Lomond Peak and Arthur’s Point. When you look back, you get a full view of Lake Wakatipu basin and Queenstown. Quite a sight to see on a clear day.
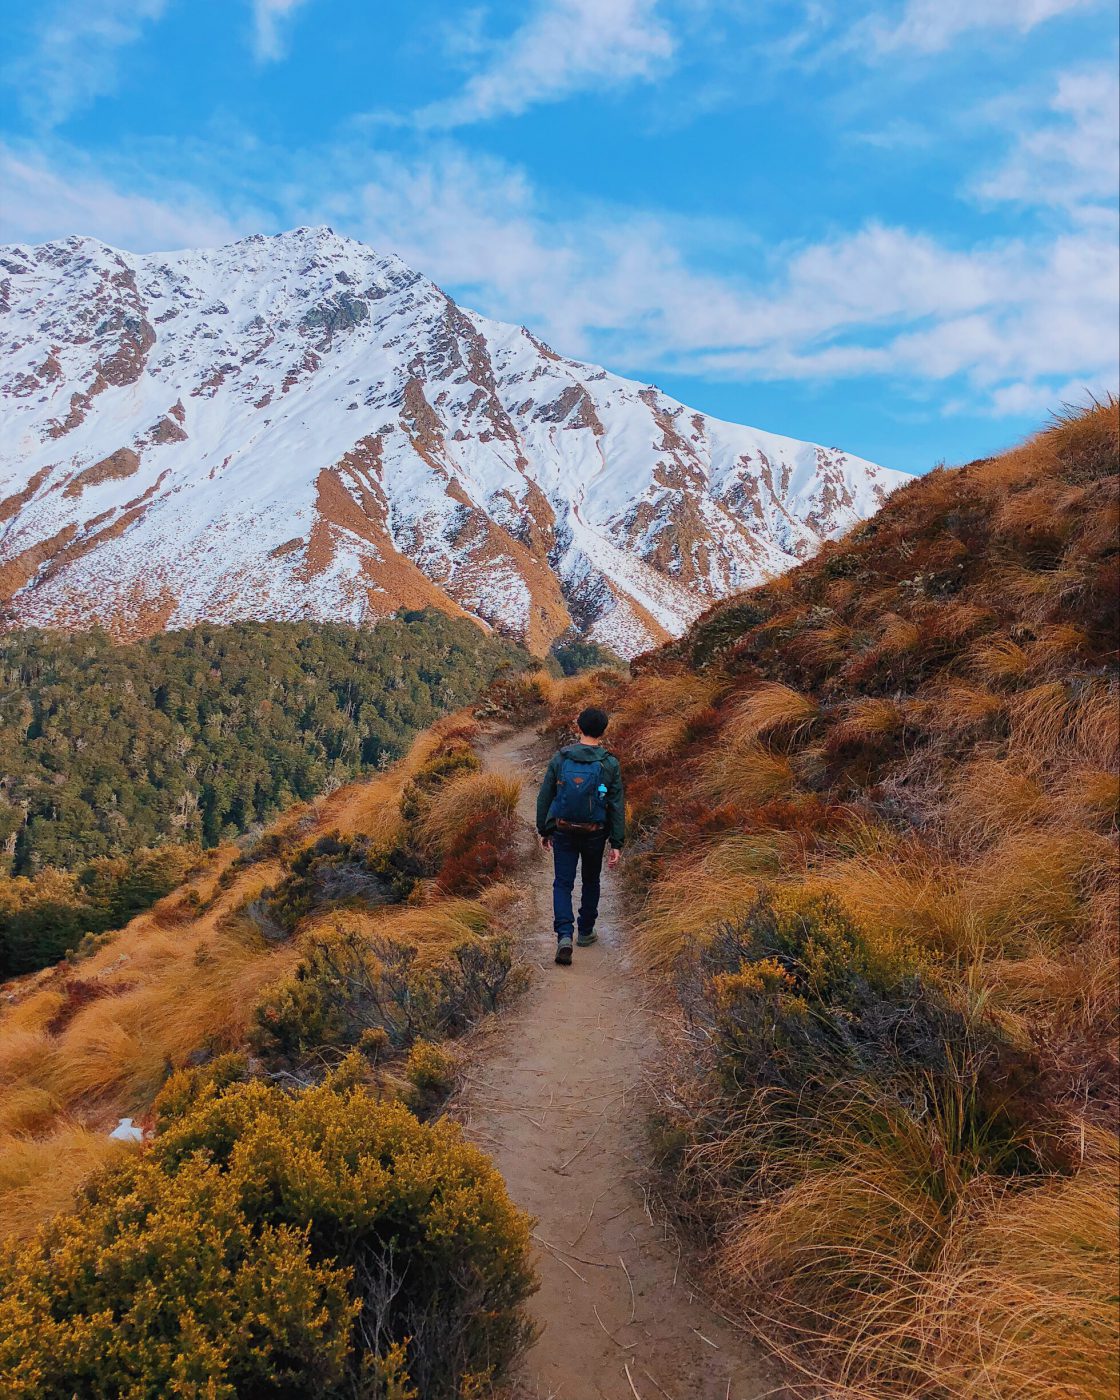
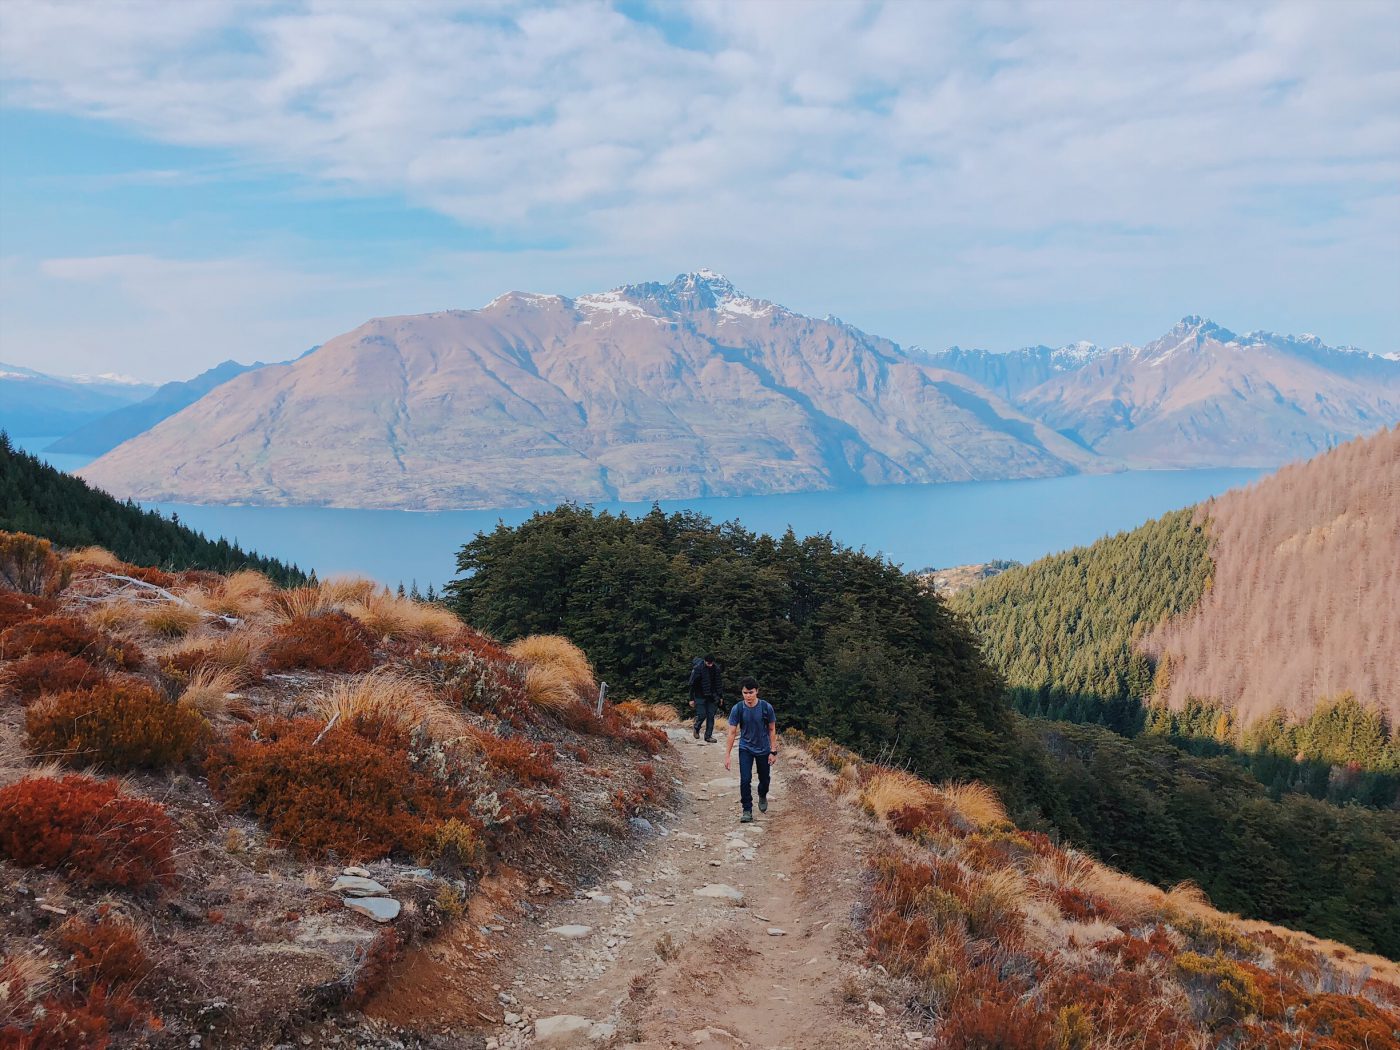
We definitely took our time for photos and take in the view of the hike. Just before the saddle, there is a valley that gives you a view of Queenstown and parts of Lake Wakatipu. I highly recommend stopping here for a few photos.
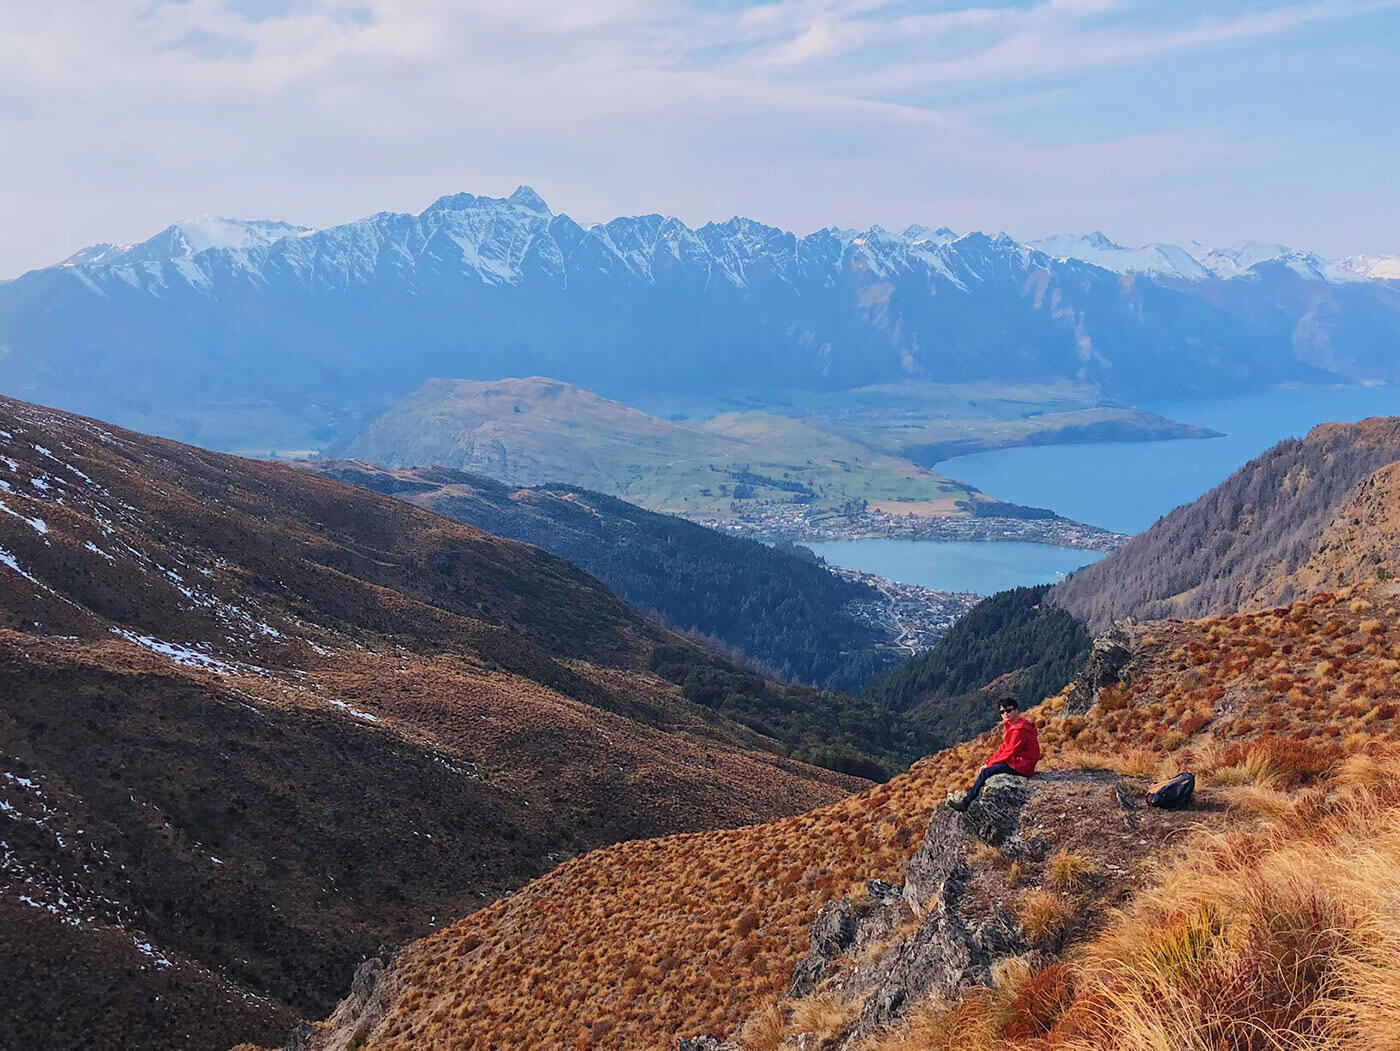
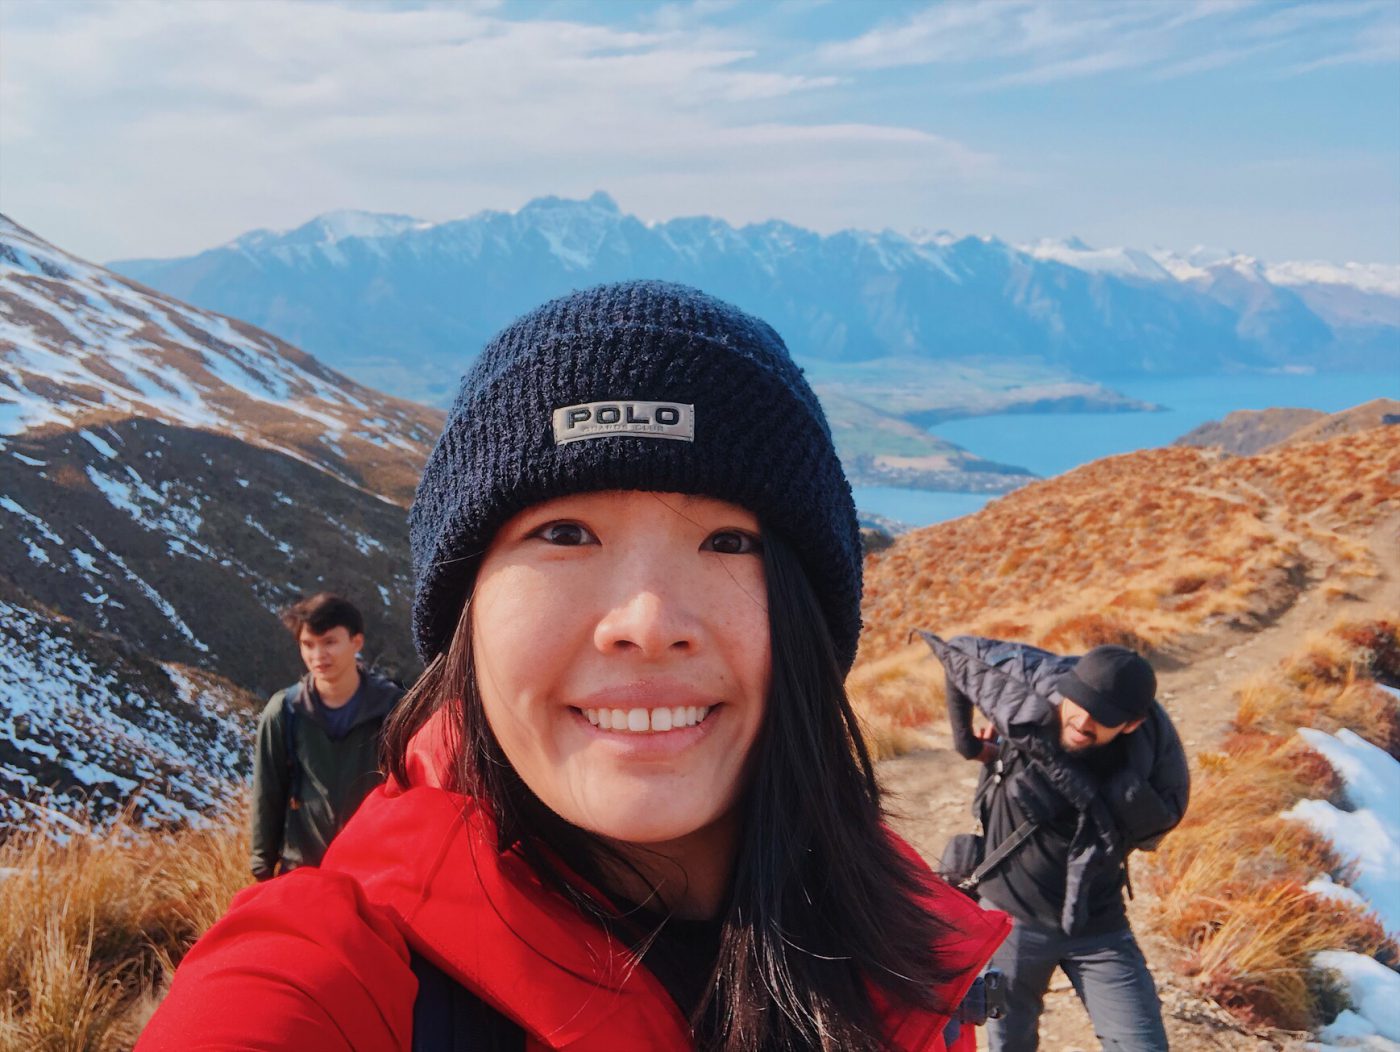
The greatest lesson I’ve learned from this trip is that it pays to travel with a great and enthusiastic photographer who is also very fit. Throughout the hike, our friend Lucas would run up and down the track so he could take nice photos of us. And it’s not like the track is flat… it’s still an uphill climb the entire time.
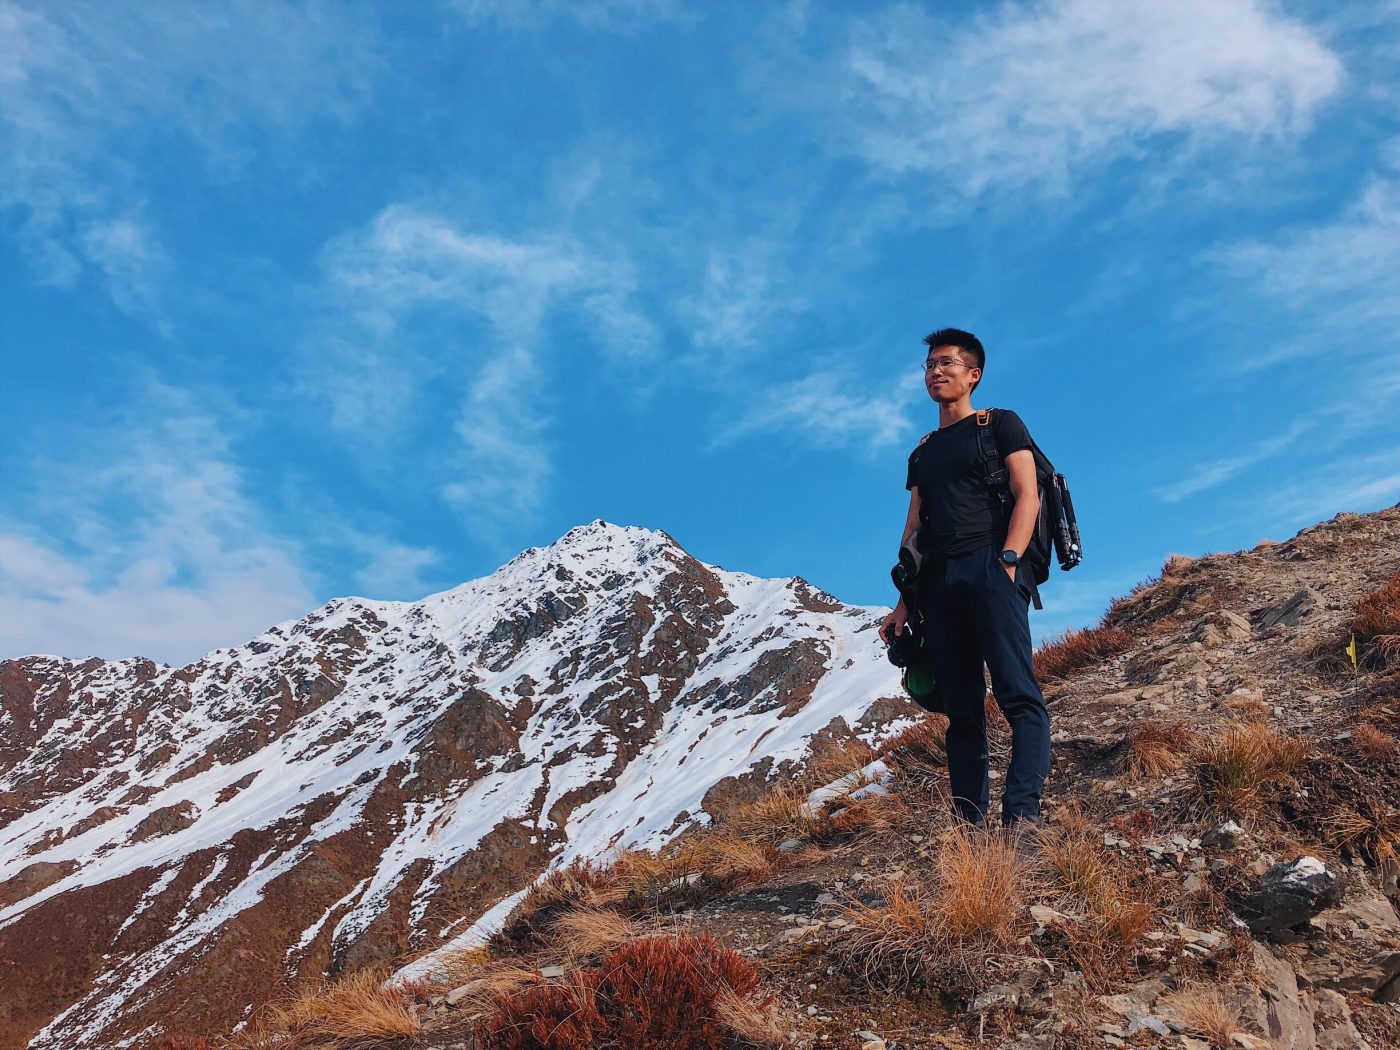
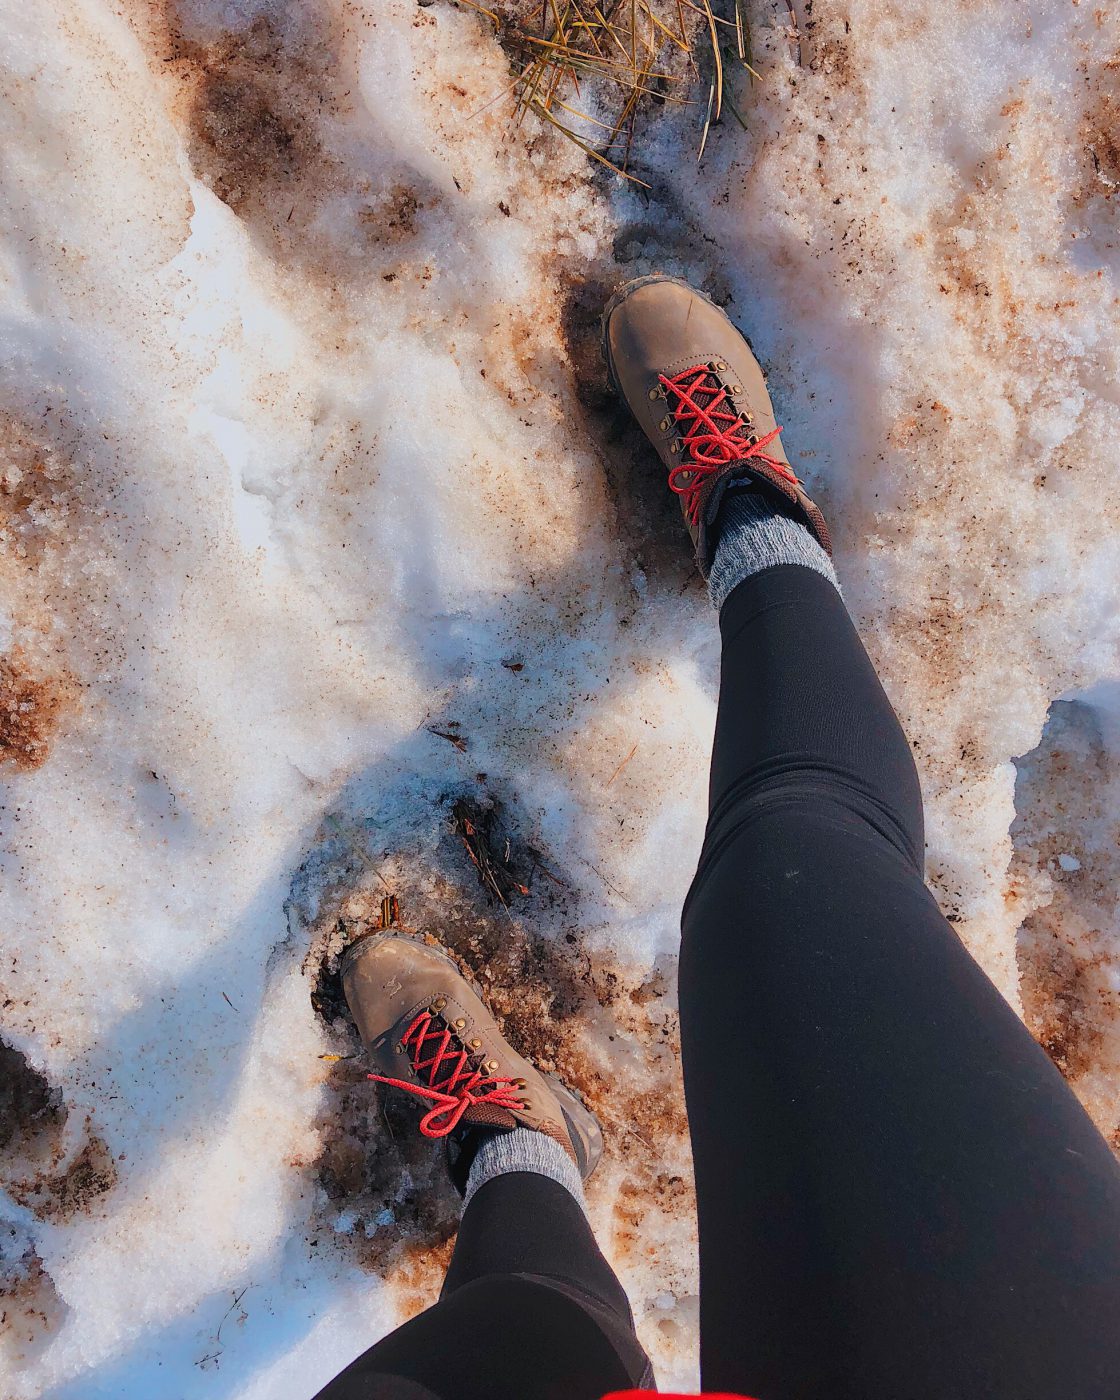
When we did this hike on September 12, it was still at the beginning of Spring and the tail end of Winter. It was pretty cold and there was plenty of ice/snow on the mountain. At first, the snow seemed so out of reach but we started seeing a little bit of snow on the track just before reaching the Saddle.
And soon enough snow entirely covered the hiking track. This is the part where I’m glad we brought our sunglasses. If you’re used to snow, snow blindness might be an obvious thing to you. But for someone like me who had only seen snow a handful of times in my life (and the last time was over 15 years ago), I didn’t know how bright the white snow could be on a sunny day.
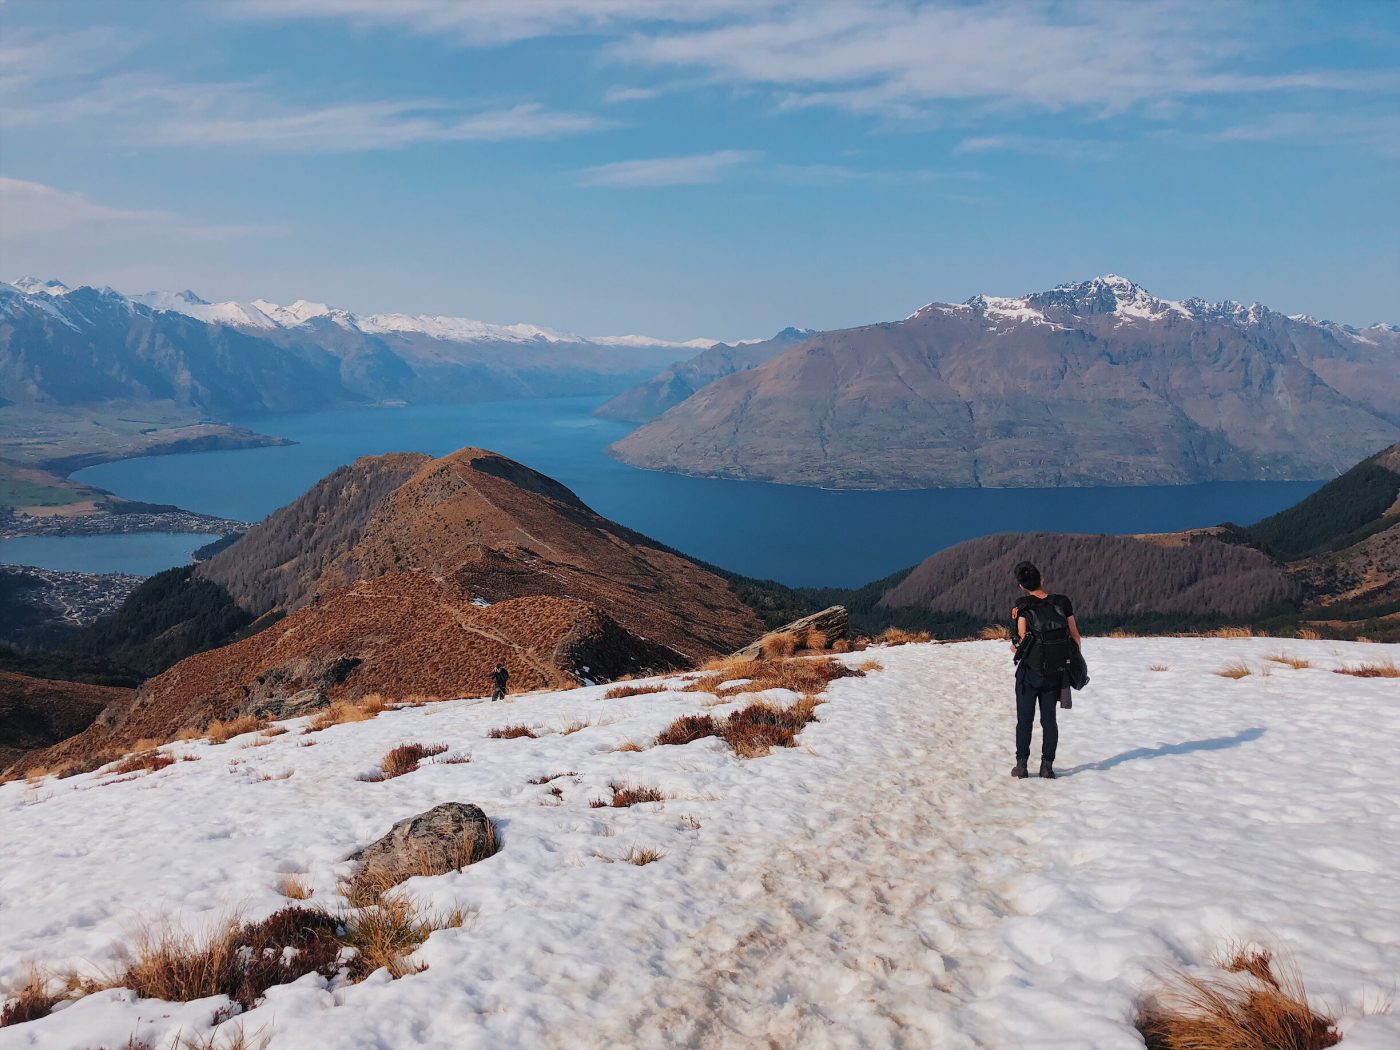
But as we inched further towards the Ben Lomond Saddle, the track cleared up from the snow and it gets easier to move forward again. We reached the Ben Lomond Saddle and took a break on that iconic green bench. Since it was a good day, we could see clearly the Mount Aspiring range ahead of us.
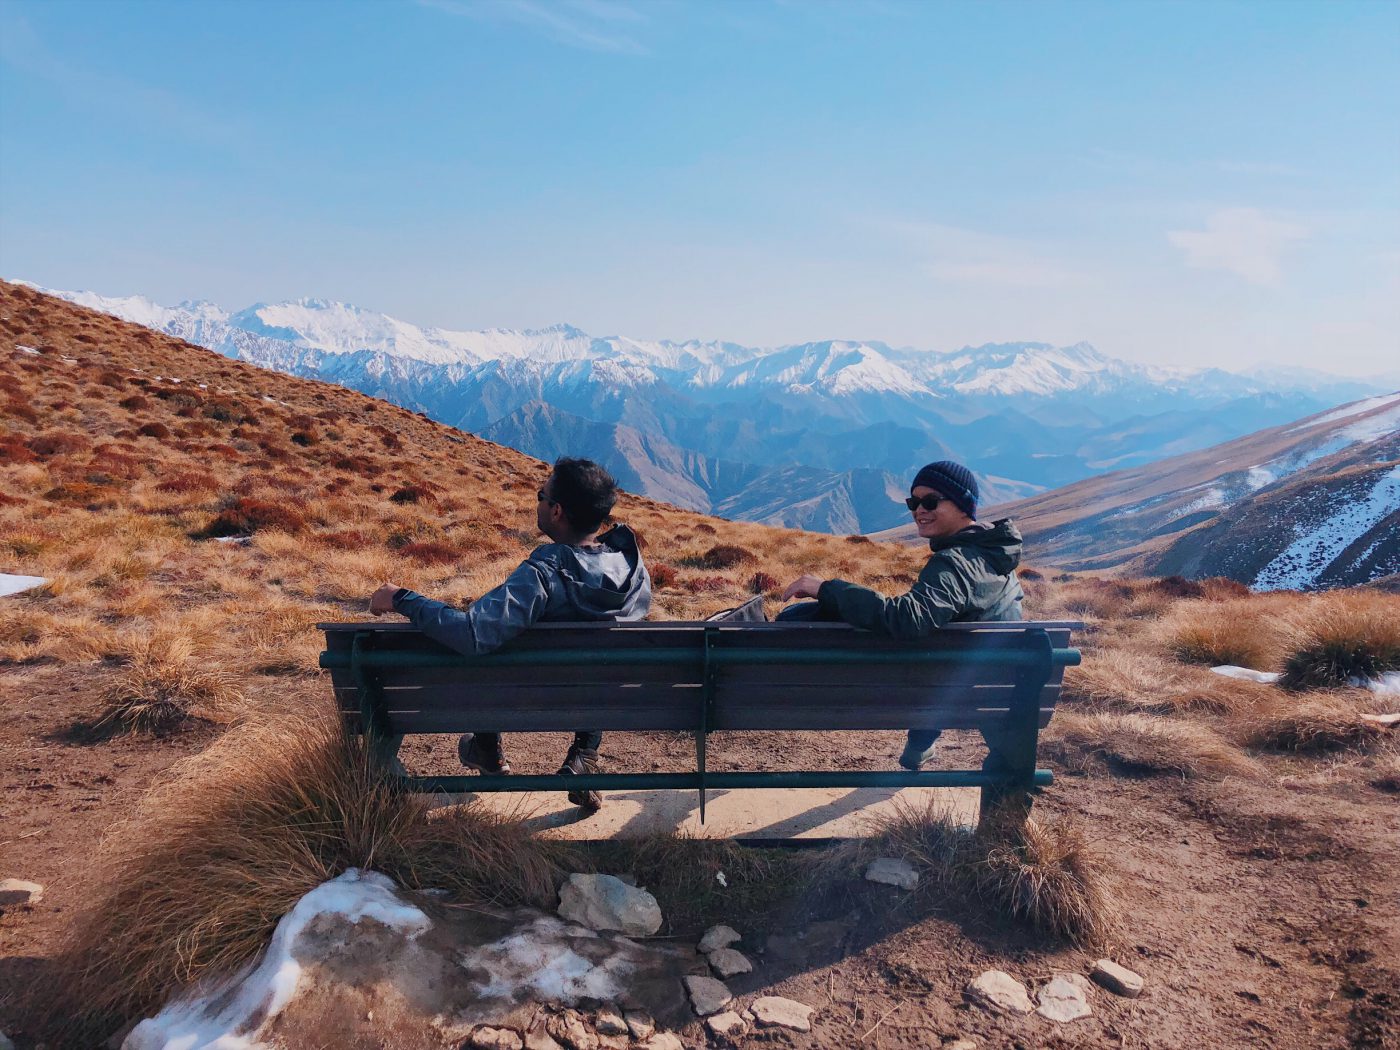
We considered not summiting after crossing that huge patch of snow before the Saddle. We were not really prepared to hike in such conditions and some of us were already tired from the continuous steep climb up to get to this point. But from where we were sitting, we could see that only part of the track to the summit is covered in snow.
At this point, we crossed paths with another hiker making his way down alone. Still wondering whether we should go on, we asked what the track up there was like and how much of it was covered in snow. The lone hiker hesitantly replied that yes, there is a lot of snow up there, but encouraged us to try anyway since he was able to make it up there wearing only trainers (to his credit he looked pretty athletic).
Well… it did seem like such a waste to have come so far and not summit, right? So we decided to push through and attempt it. We figured we could always turn back if things got out of hand.

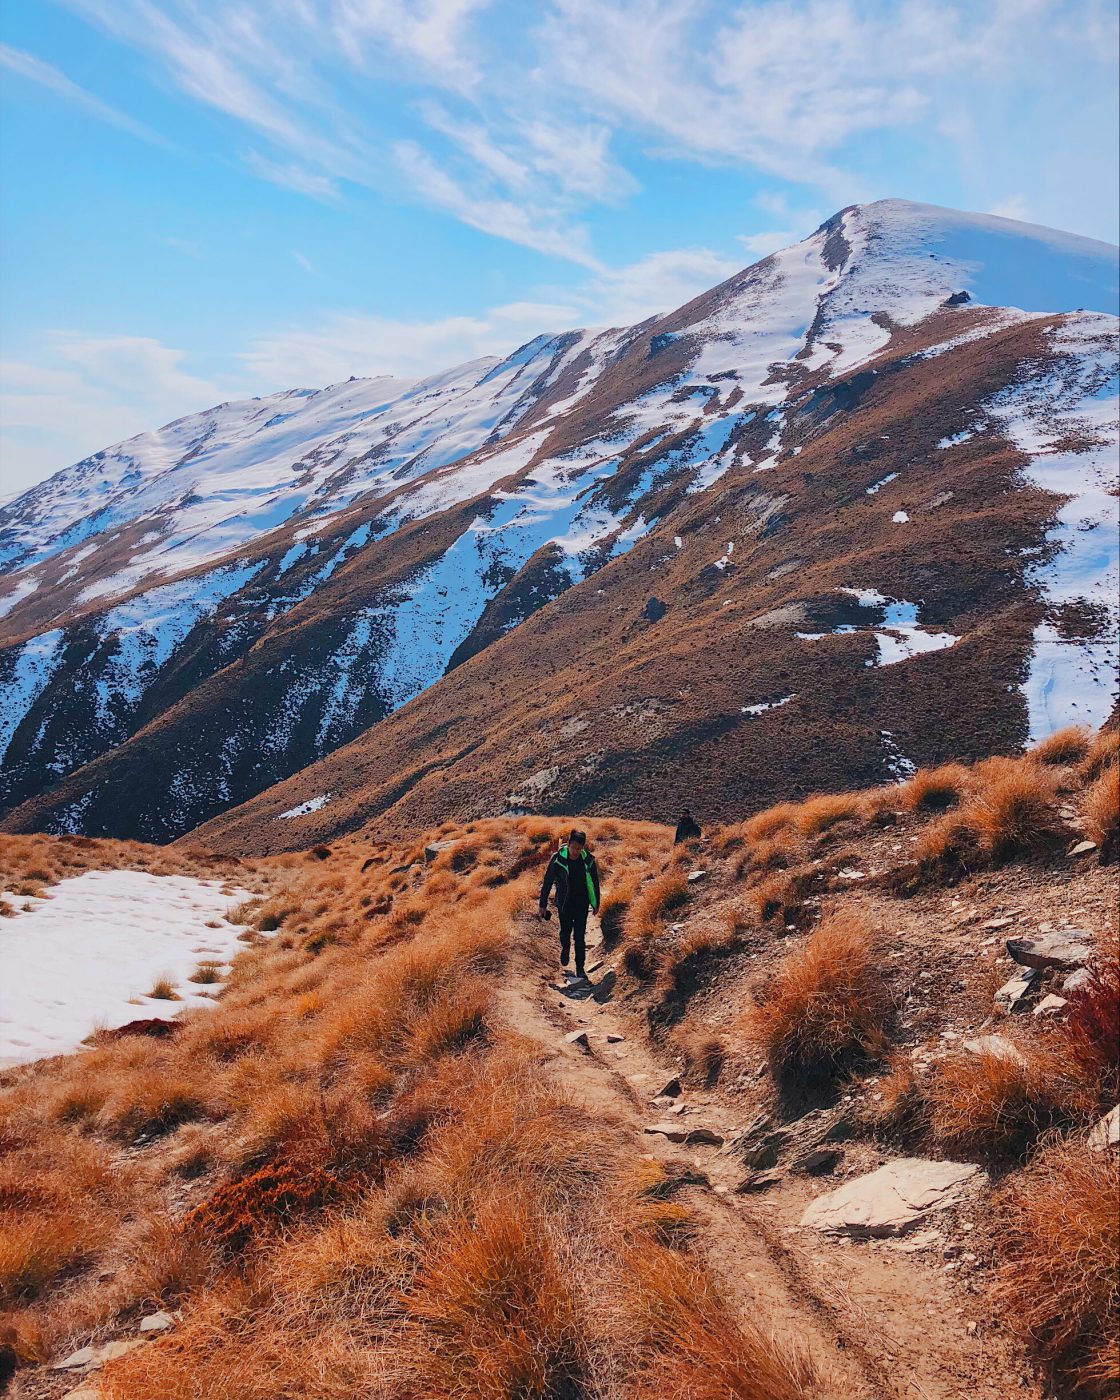
Okay, I’m not going to sugarcoat this – the track to the summit is difficult. If you think the climb to the Saddle was hard, the summit track is even harder, steeper, and much rockier. Probably very doable in summer… but with the addition of ice and snow, it gets slippery. Muddy as well, and windy to boot.
But I have to say, the view from the summit track was magnificent. On a clear day, you’ll see Mount Aspiring range on your right, and on your left is the scenic Lake Wakatipu basin and Queenstown area.
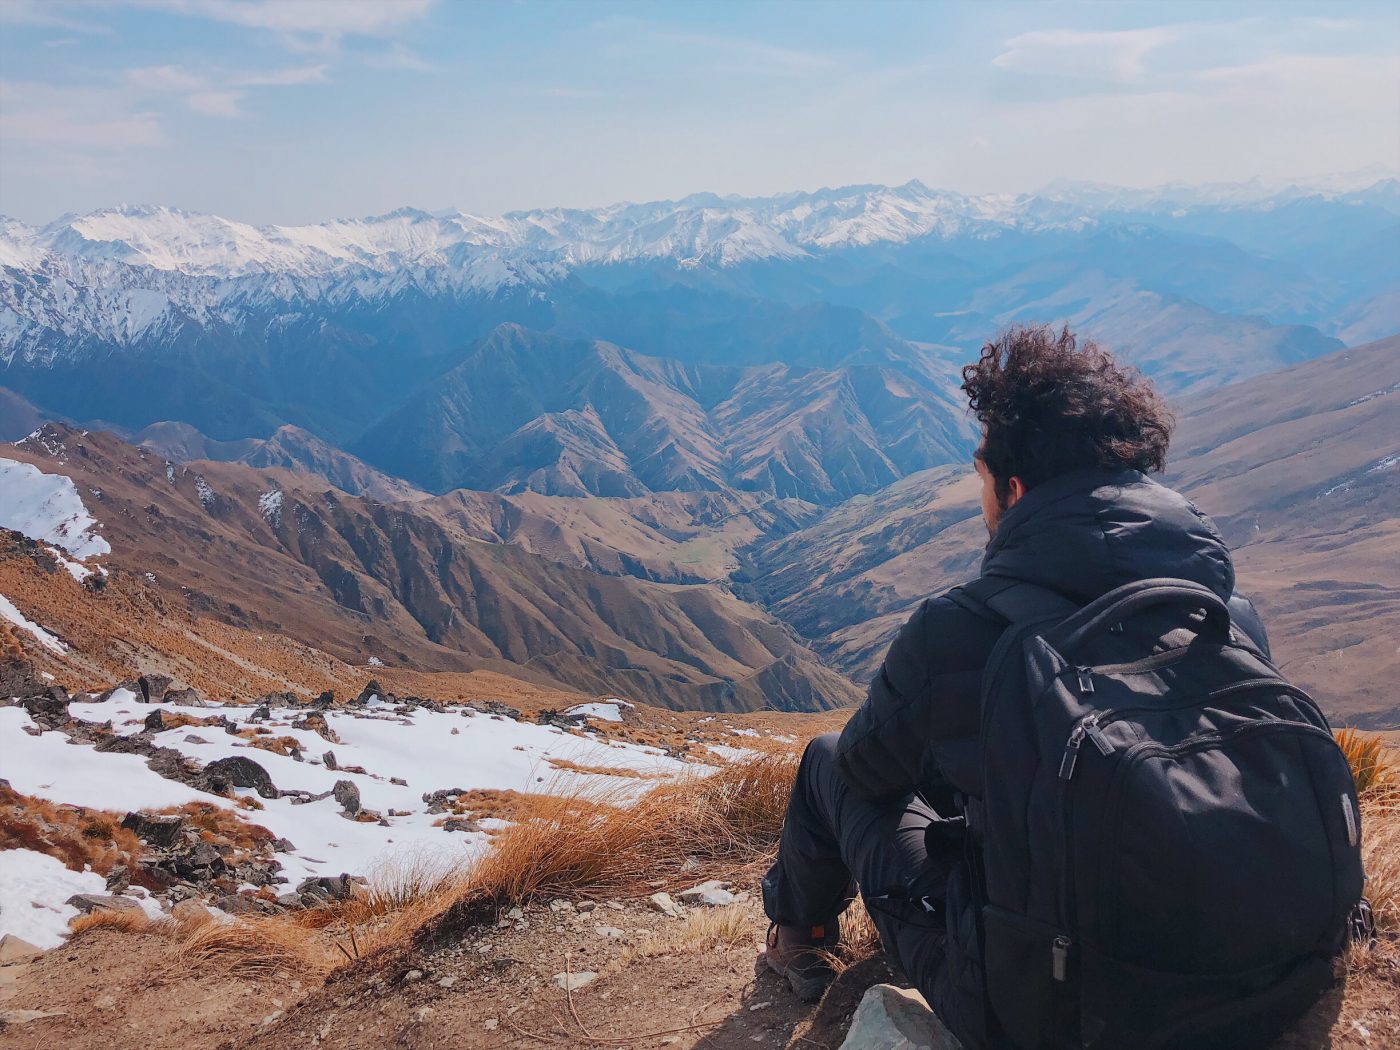
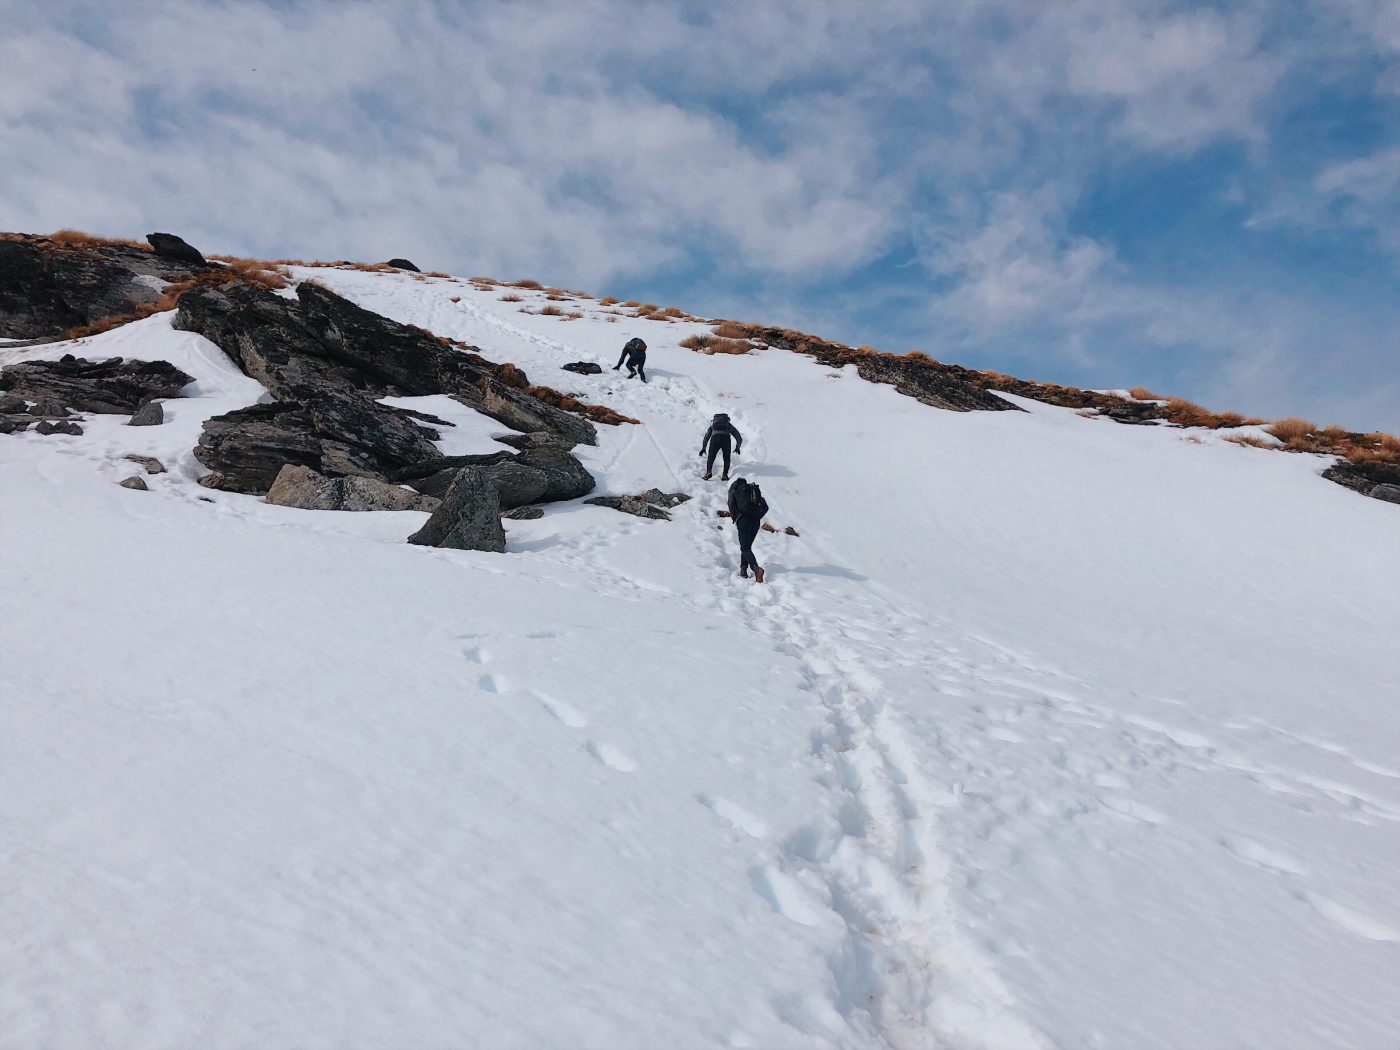
As we get further up the summit track, the path disappears again behind a thick sheet of ice and snow. This is when your snow gloves would come in handy. At this point, we had no choice but to get on all fours in the snow, grabbing at whatever we could (sometimes this means the snow itself) and making sure we have a good grip with each step, or else we risk slipping downhill.
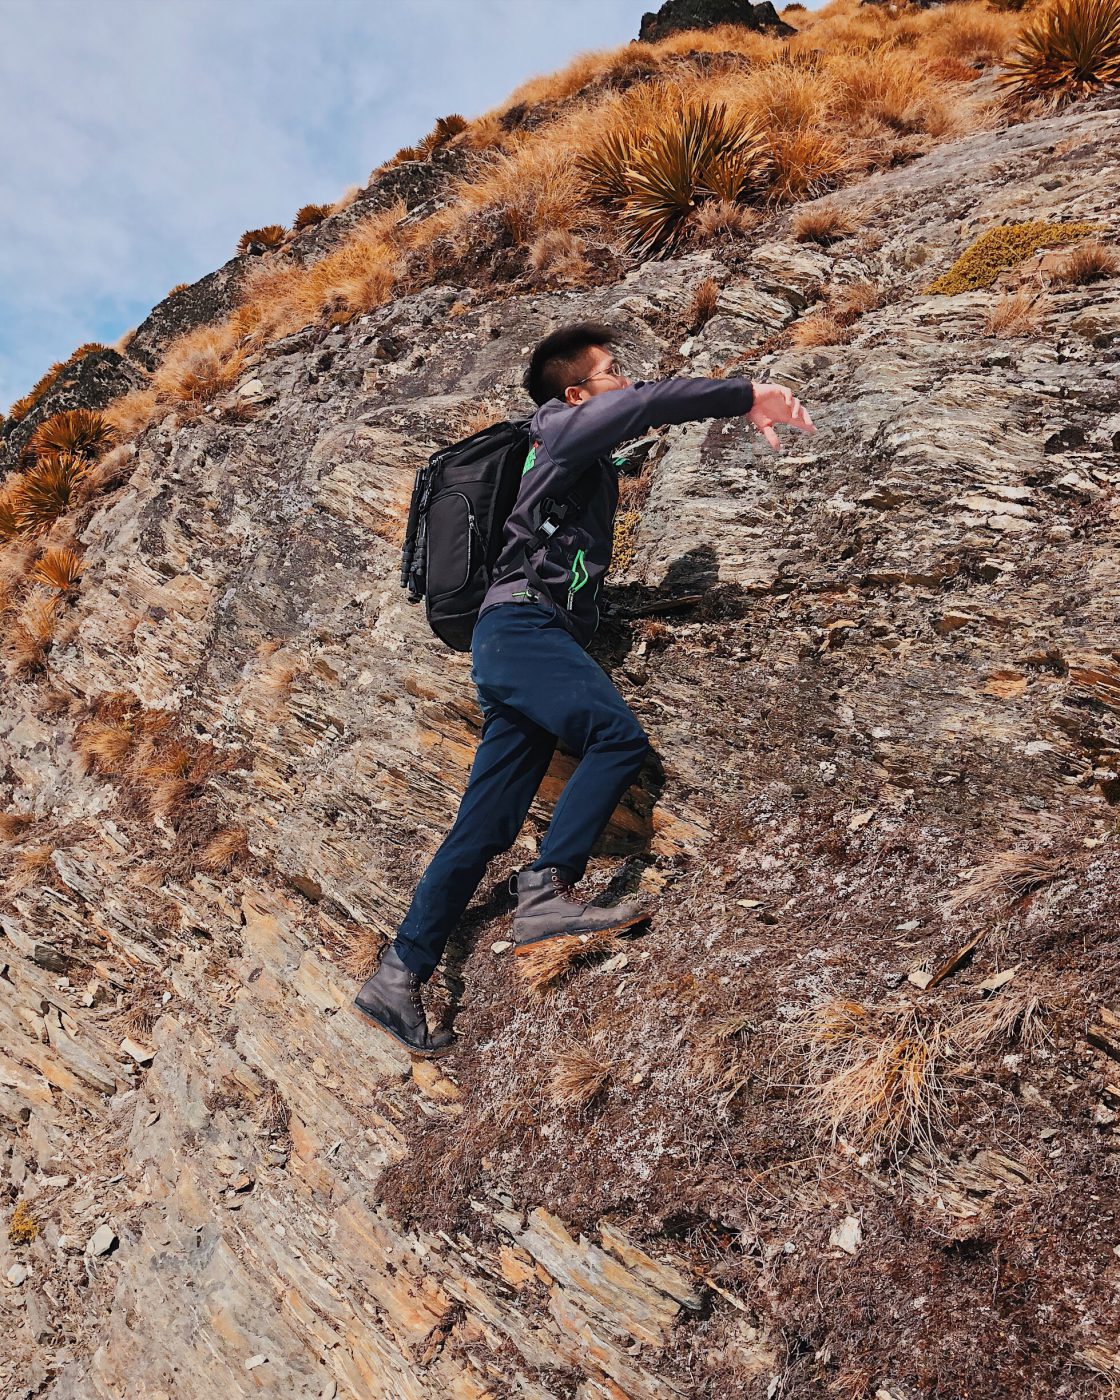
Lucas didn’t have any gloves with him (I had mistakenly told him there would be minimal snow… sorry Lucas). But, he frequently does rock climbing and bouldering back at home so he found it far more comfortable to scale the walls instead…
I’m not that fit though… so I stuck to the snowy path and froze my hands off. My friend Shekhar, who has more experience with hiking than me, told us to keep our center of gravity low. So crawling on all fours I went.
Halfway through the snow-covered track, we crossed paths with yet another lone hiker, who informed us there is still a lot more snow up ahead. It will get steeper, he says, but he encouraged us by saying that if we’ve made it this far, we’re probably going to be just fine. I love how friendly and encouraging fellow hikers have been on this trip!
After about 30 minutes of crawling on the snow and me wondering why the hell are we even doing this, we finally reached the summit of Ben Lomond.
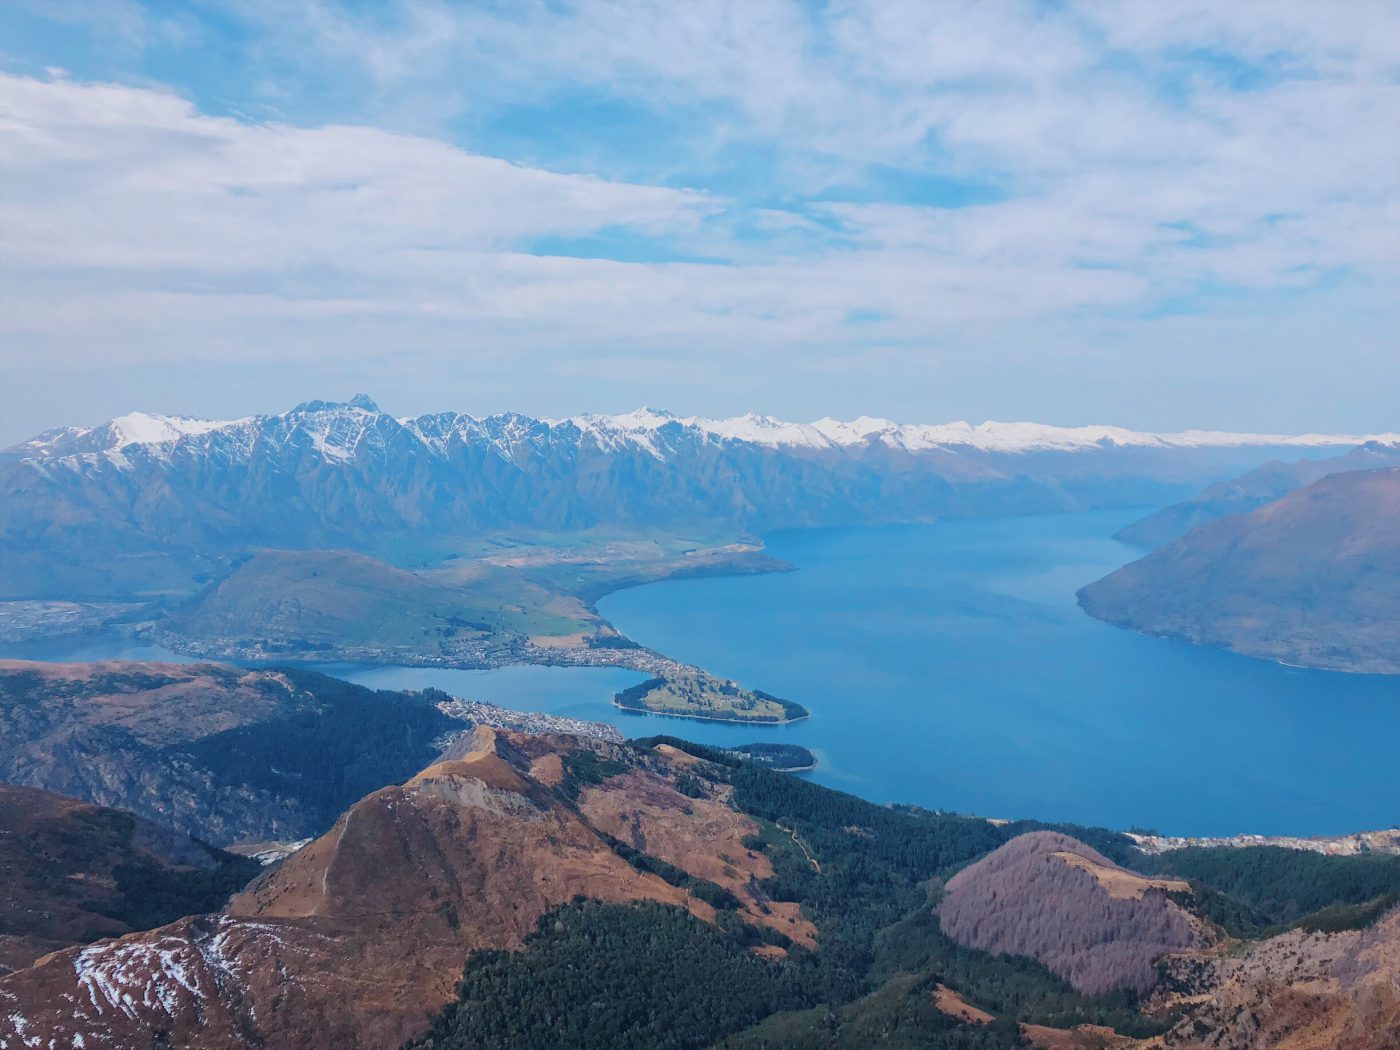
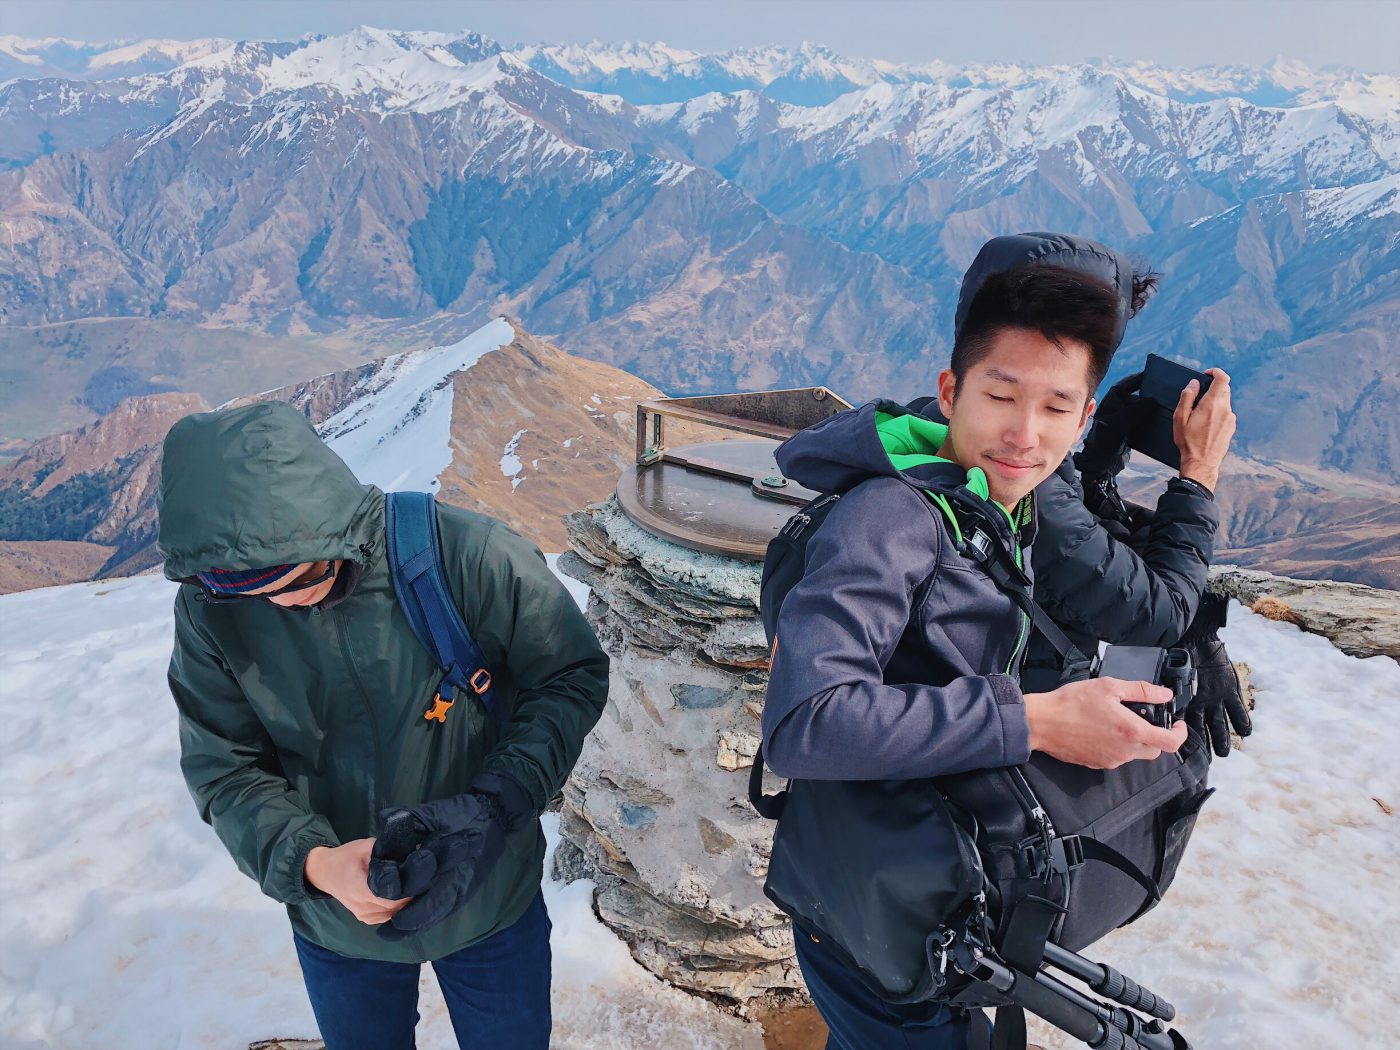
Unfortunately, the summit was extremely windy at that time. So after about 5 minutes of taking photos, we decided to head back down – for our own safety. Seeing how steep the climb up was, we knew we were in for a “fun” descent.
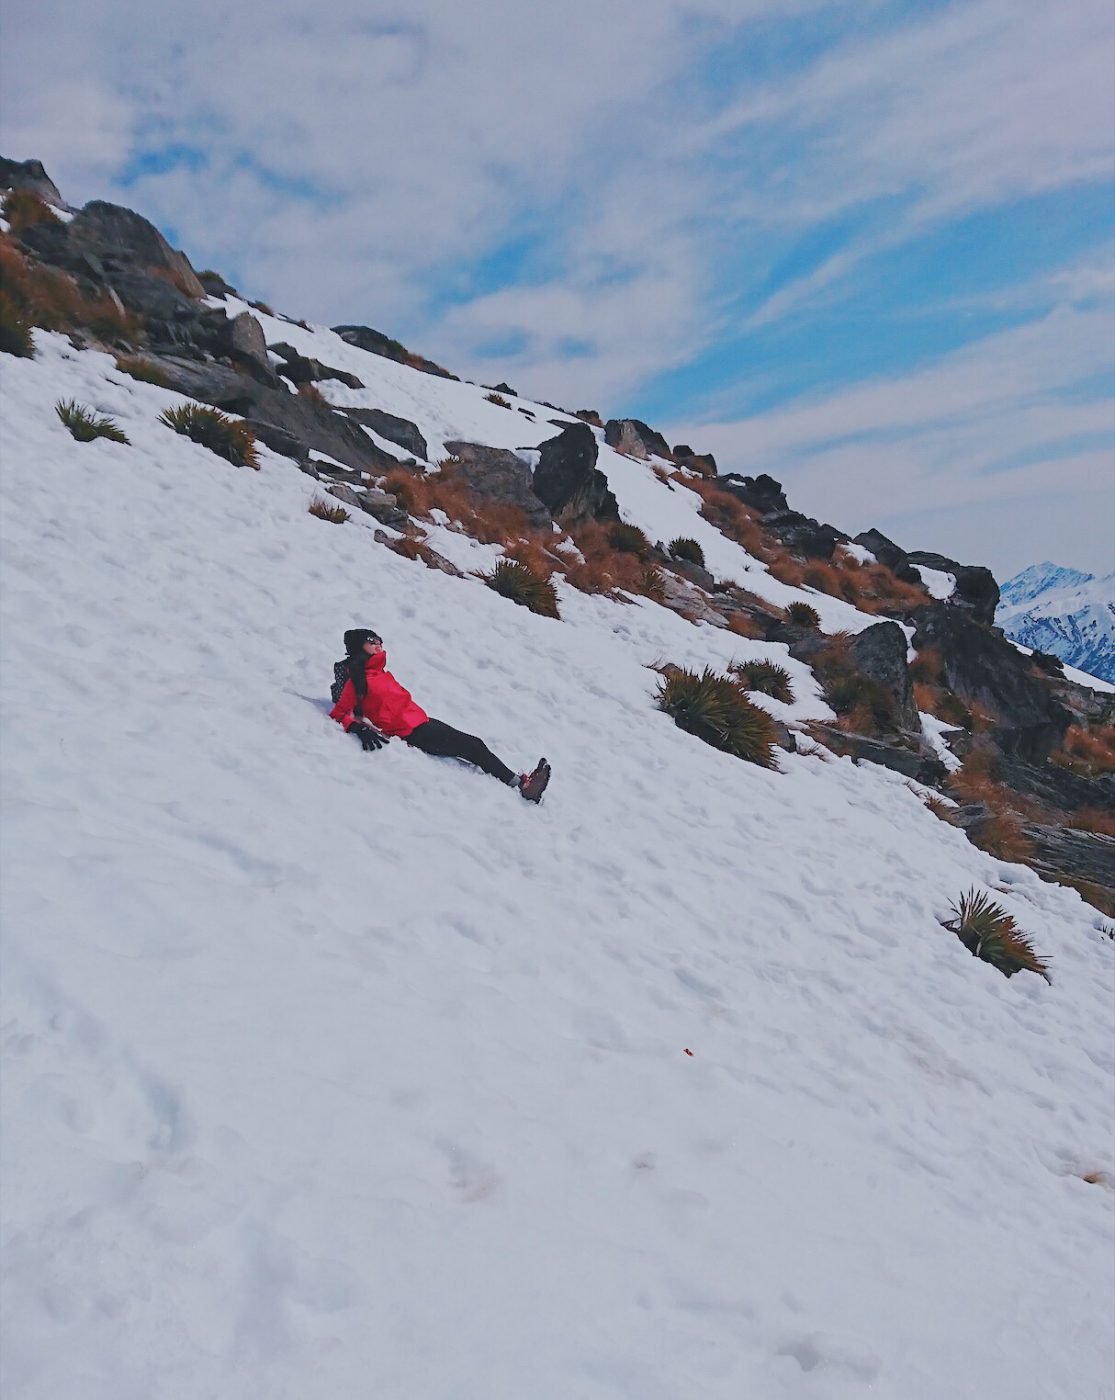
And what a “fun” descent it was. If I was bear-crawling my way up, then going down I was 100% crab-walking. At the steepest points, there was no other way to go down but to slide on your butt. I was in the middle of thinking whether I should actually slide when my legs slipped under me and I had no choice but to go through with the slide.
So… I looked pretty happy in the photo below, but I was actually freaking out. I had no idea how to stop myself from sliding and for a brief moment, it looked like I wasn’t gonna stop. My friends kept yelling to keep my feet straight down and dig my heels in, so I straightened myself up and eventually stopped a bit to the left of where the track was. I crab-walked my way back to the track and definitely crawled with way more caution after that.
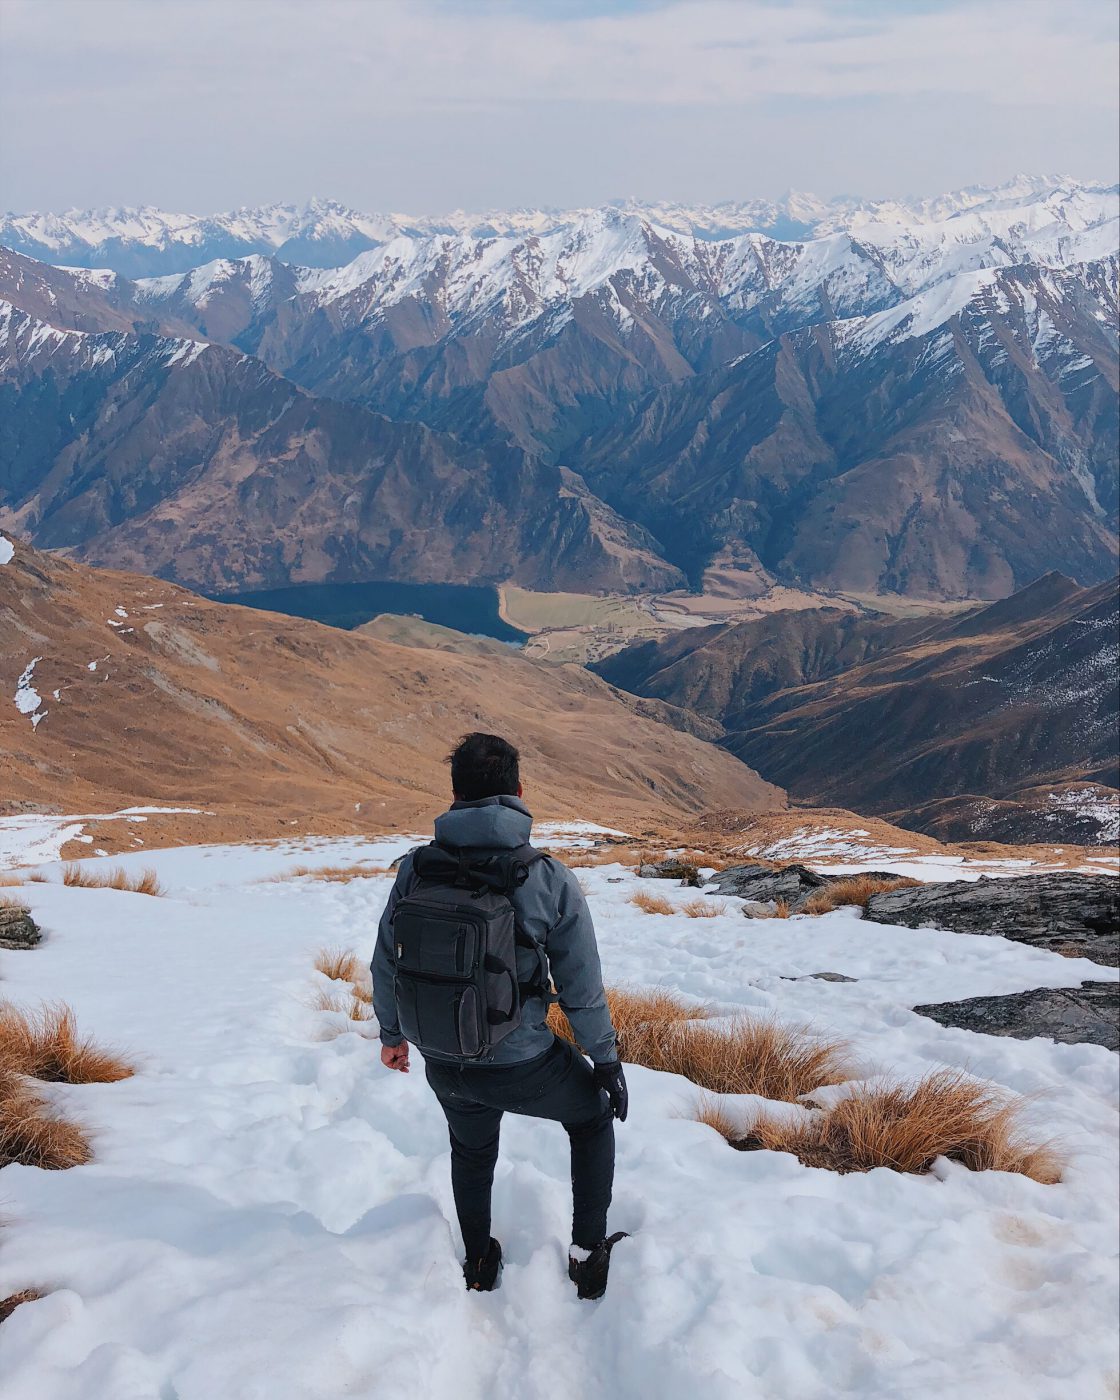
By the time we reached the non-snow covered parts of the track, some ice had melted and formed little ravines on the ground. It turned the track more wet and muddy. This is why I highly recommend wearing proper hiking boots!
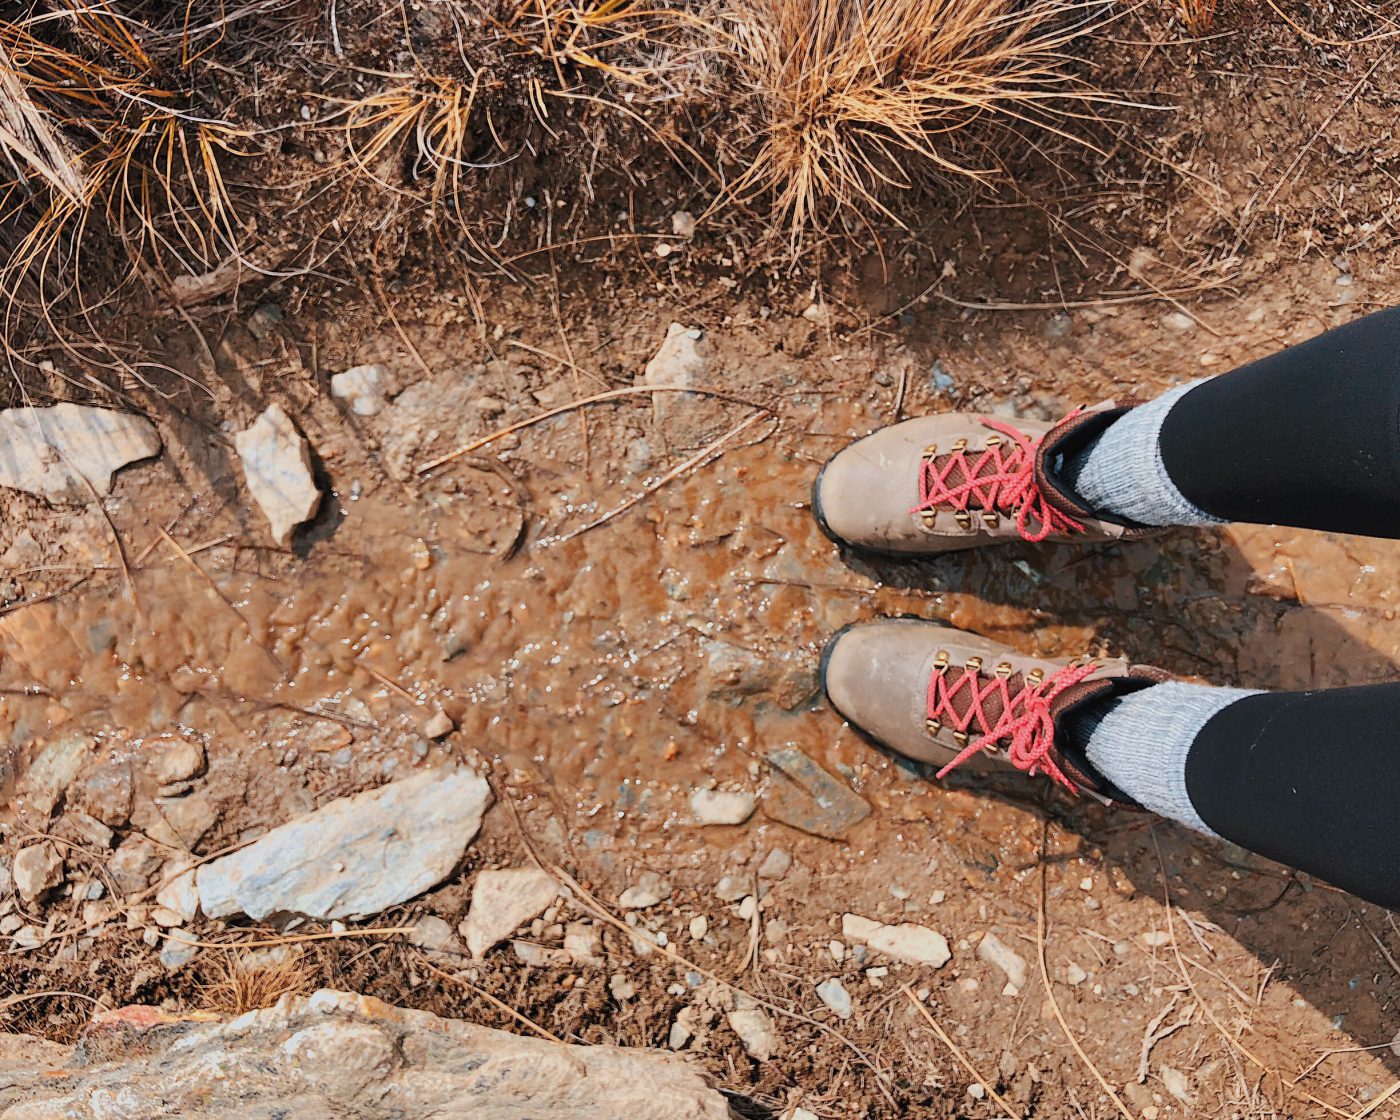
Despite that, the way down took much faster than the ascent. It took us about 4 hours to reach the summit but only 2 hours to go down the entire path. We started from Lomond Crescent at around 8 am, and were back down at the same spot a few minutes after 2 pm, which means it took us about 6 hours, exactly as estimated by the DOC website.
I’ll give it to DOC. They are spot on at estimating the track time, but I still don’t agree with their “Easy” grading for this track. It was really anything but. My calves and butt are sore the next day from the climb (although it wasn’t as bad as the time I climbed Mount Rinjani). PS: DOC has since upgraded this track to “Advanced”, which I totally agree with!
My verdict overall? I really, really loved this hike.
In all my previous hiking posts, I kept talking about the importance of doing a good ROI (Return on Investment) hike – I think Ben Lomond trumps it all. It took little to no effort to get to the track. It was literally a 5-minute drive from our Queenstown Airbnb. And with the high payoff for the views up there, this might just be the highest ROI hike I’ve ever done.
The Lake Marian hike follows a close second but Ben Lomond wins just because the entire track was so beautiful.
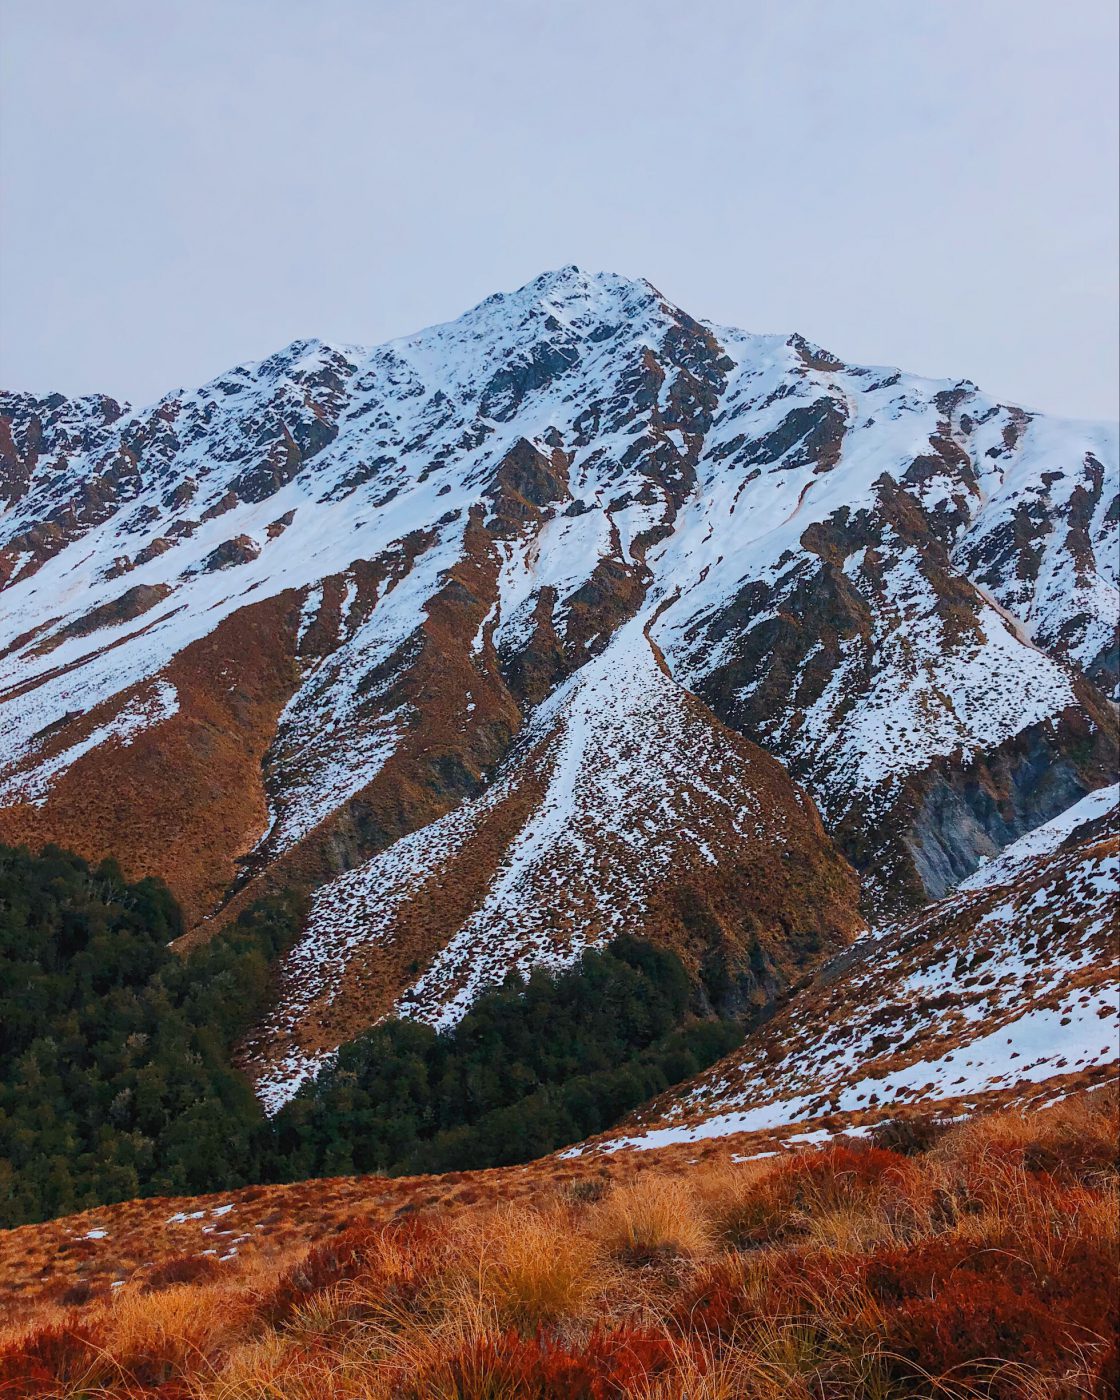
Goodbye, Ben Lomond! and thank you for showing me a taste of what a New Zealand hike is all about.
Since you’ve read this far, please leave a comment! Your comments are what keeps me going 🙂
If you are looking for an itinerary for New Zealand South Island, you can check out my South Island itinerary overview here

Hey Melissa!
Really appreciate all the care you put into these posts! I’m practically following your itinerary for my upcoming trip in December! Curious though, by using the gondola, are you missing out on some amazing views you could see along the way by hiking? I want to cut down on the hike time but also having FOMO :S I don’t mind hiking the extra hour if the views are spectacular! Thanks!!!!
Ju Young
Hi. Thanks for posting about this hike in September! We’ll be heading to NZ this June and hoping to hike. We’re coming from Canada so have a bit more experience with snow. 🙂
Hey Anne! If you’re experienced with snow, you should be fine. Enjoy the hike 🙂
By the way, the DOC now describes this track as “advanced: tramping track” and says it requires a high level of fitness. So I guess they agree with your assessment!
hahahah! thank you for that update. maybe they read my blog and realized the track isn’t so easy for normal people 😂
Hi Melissa,
Just came across your blog and I absolutely adore your stories!
Hey Yoke, hope you found the post useful as well! 🙂
Thanks for the review of Ben Lomond track. Friend and I are planning to go in March. You tips will be taken on board. 😀
Nice and informative. Would like to message you direct for some question as going in December with family
feel free to ask them here or email me using the contact form!
Hi Melissa,
Thank you for such an informative post! I’ll be traveling to South Island in June and am thinking of doing the hike to Ben Lomond. Can I check what was your outfit like? Eg waterproof pants / hiking jacket? Thanks in advance!
Hey Ting. June will be peak winter time so you probably will need snow gear. I went in August at the end of winter and I wore windbreaker, umiqlo heattech top, leggings layered with uniqlo heattech leggings and hiking boots.
It was really information reading your post! Thank you for writing in such detail. It really helps planning from afar and adds a lot of credibility how honest you are. We (husband and I) bought tickets to go next month (April) unexpectedly and appreciate this article! We have a week to explore the south island together and then I’m on my own for the north island leg of the trip.
Wow! thank you so much for taking the time to write this comment, Cassandra! Really motivates me to keep writing 😀 Both of you are going to have so much fun. New Zealand is really beautiful. Just be prepared for the fickle weather!!
I also have an itinerary post for the South Island if you are interested: https://girleatworld.net/new-zealand-south-island-itinerary/
Hi!
I was just wondering how long it takes to hike the Ben Lomond summit ONE WAY through the easy route (taking the gondola up to the Saddle, and then starting the trail to the Summit)?
Thanks!
Hey Angela, the gondola cuts down about an hour of hiking, so i’d say it would take you 2 hours from top of gondola to the summit.
btw the gondola doesn’t take you to the saddle, you still bave to hike from gondola to saddle.
Hi Melissa!
Just wanted to say I got totally inspired by your stories and will be practically doing your itinerary, only back to front! <3
So looking forward to Ben Lomond next month, even though I am not as fit!
Great! let me know how it goes 🙂