A few weeks ago, I promised on my Instagram stories that I will be sharing my photo editing tips and tricks. Don’t worry guys!! I definitely haven’t forgotten about my promise! 🙂 Okay – Enough fluff, let’s go straight into the good stuff. Here is how I edit my Instagram Photos!
PS: Just a quick intro for those who found this post via Google Search, you probably don’t know me so here is a link to my Instagram account @girleatworld, where my photo taking and editing style have earned me ~300k followers.
The Camera I use
This is one of those “if I have a nickel everytime someone asks me…” question. I’ve gotten questions from many of you asking me what camera I use, and I think the answer surprised most people. I take my photos with the one device that’s always in my pocket (and probably yours as well): iPhone’s small, yet powerful camera.
I had an SLR camera which I used to take with me on my travels many years ago. But since I got my first iPhone in 2010, I have slowly transitioned to using just the iPhone camera. I’m a no-fuss casual photographer and I want to edit my photos on the spot without having to deal with transferring files, so phone-editing is perfect.
I also love how a small phone camera allows me to snap away inconspicuously and efficiently. Taking a photo for @GirlEatWorld is not exactly a glamorous activity so I prefer to blend in and take it as quickly as possible.
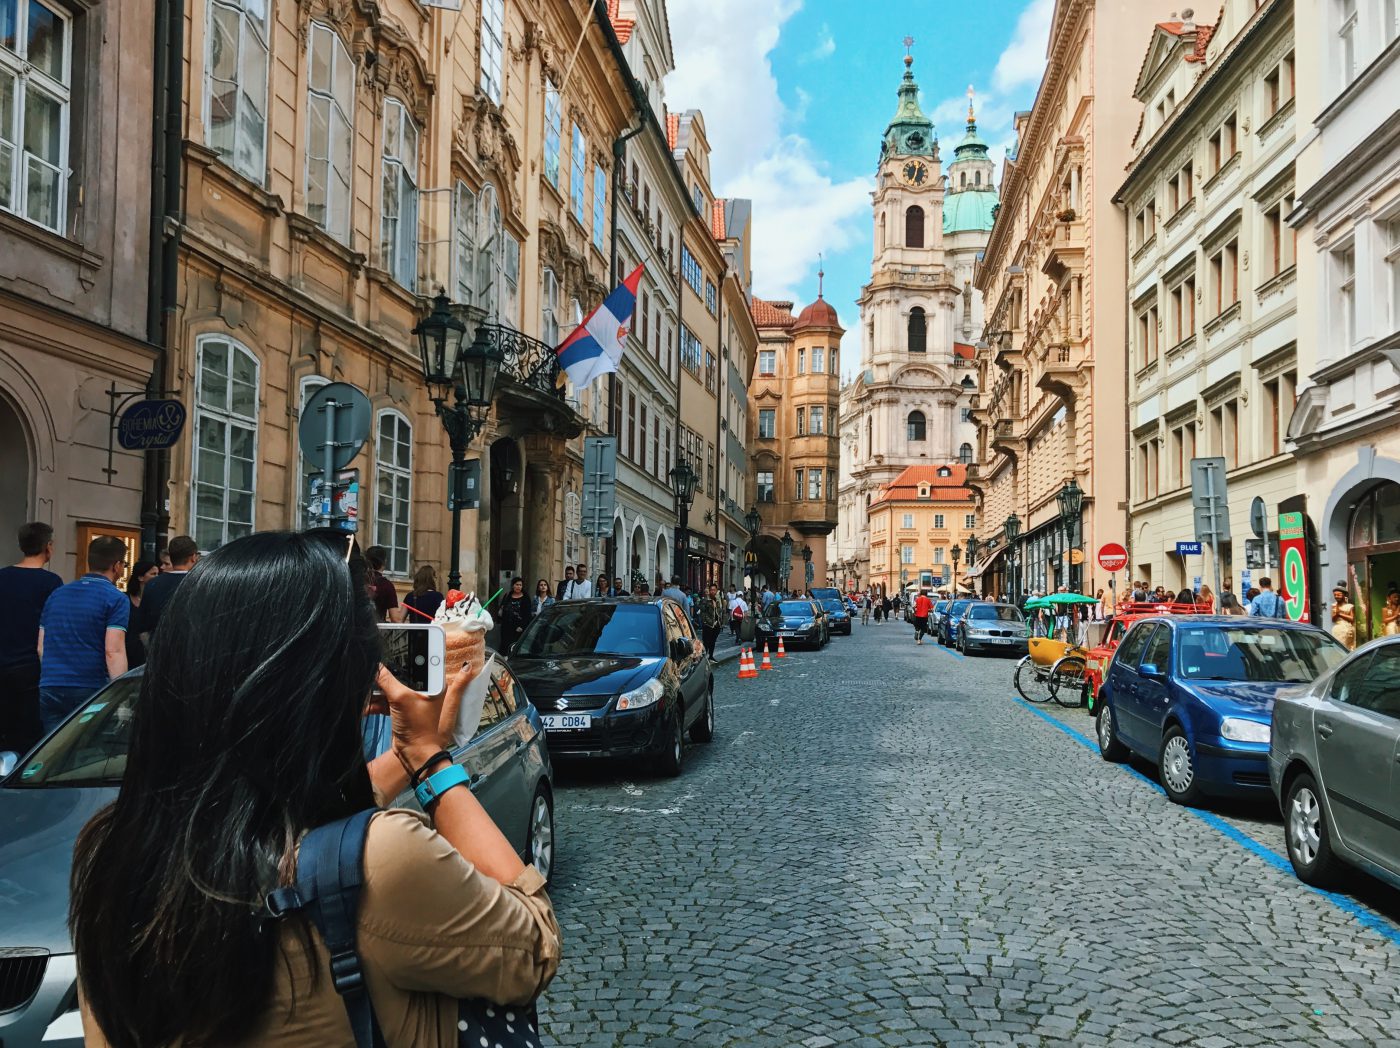
Disclaimer: All the tips and apps I’m going to recommend are for iPhone. Unfortunately, I can’t advise if other phones have the same features since I am not experienced with them. Also, I’m by no means a professional photographer – I’m just sharing all the self-learned methods I’ve discovered over the years so these tips might seem very elementary to some of you.
Tools & Gears I use
Camera Gears
- iPhone Pro Max – I omitted the model number since I have pretty much used all iPhone generation since iPhone 4. I prefer the pro max as I like bigger screens for editing photos. I’ve also always opted for the biggest storage because I take a lot of photos and I don’t want to worry about running out of space. With the 1TB storage, I have not had to empty out my photos or delete apps in over 4 years (!!).
- Ring Grip Holder – It’s a ring-shaped plastic that can be attached to the back of your phone case. This ring might look unglamorous, but it has been massively helpful in providing grip and stability. Having the grip on the back of the phone allows me to easily take photos with one hand.
- Mobile Tripod – A flexible and lightweight tripod like this is a nice to have, especially if you’re traveling alone or you want to get a group shot with everyone in it. It also helps with stuff like time-lapse videos.
iOS Apps
I’ll elaborate more on how I use these apps throughout the post, but I’m just putting it here for easy access.
- Camera+ – for advanced control of your native camera
- VSCO Cam – for post-processing and filters
- Afterlight 2 – for effects like borders and light leaks
- Facetune – to clean up some distraction and smoothen out textures
Let’s start with the basics: Phone Photography Tips
I’ll be straight with you guys – there is no shortcut to great photography. The only secret is that you must spend time honing your photography skills and keep practicing it. It wouldn’t matter how much editing you do, nothing beats properly shot photos.
So without further ado, here are a few photography tips that have helped me:
1. Composition is LIFE
No matter what camera you use, you must master framing your photos. This is usually referred to as Photo Composition. It is probably the most time-consuming skill to learn, but it is the most rewarding as it allows you to define your own photography style.
I suggest watching this quick video of composition tips by Steve McCurry, one of my favorite travel photojournalist. There are many different types of composition and style, and over time you will start to develop your own style.
As for me, ever since I picked up my first camera I had been obsessed with the perfect symmetry (Wes Anderson is my favorite movie director, as you may have guessed) and bokeh, the blurred / out of focus effect you tend to get with certain lens if you take close up shots of an object. Combining these two styles resulted in photos you see at @GirlEatWorld.
2. Use Grids to help you compose
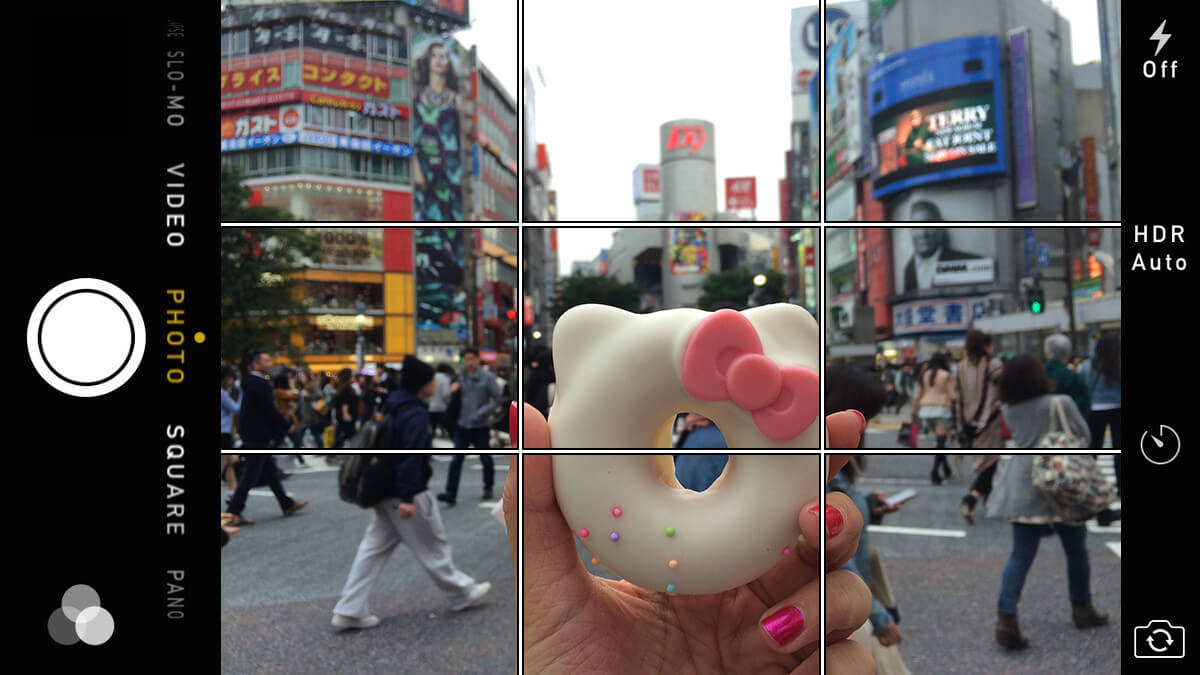
If you are an iPhone user, there is a native support to compose your photos. I recommend to turn on your grids by going to Settings > Photos & Camera > Turn on Grid. This will give you a nice 3 x 3 grids each time you fire up your camera app, which you can then use as a guide to make sure your subject is properly positioned and not crooked.
For @GirlEatWorld, I usually position the subject inside the two bottom middle boxes. For me, this creates the perfect subject to background ratio. This way I don’t overwhelm the background by taking a too-close picture of the food.
3. Pay attention to the lighting condition of your surrounding
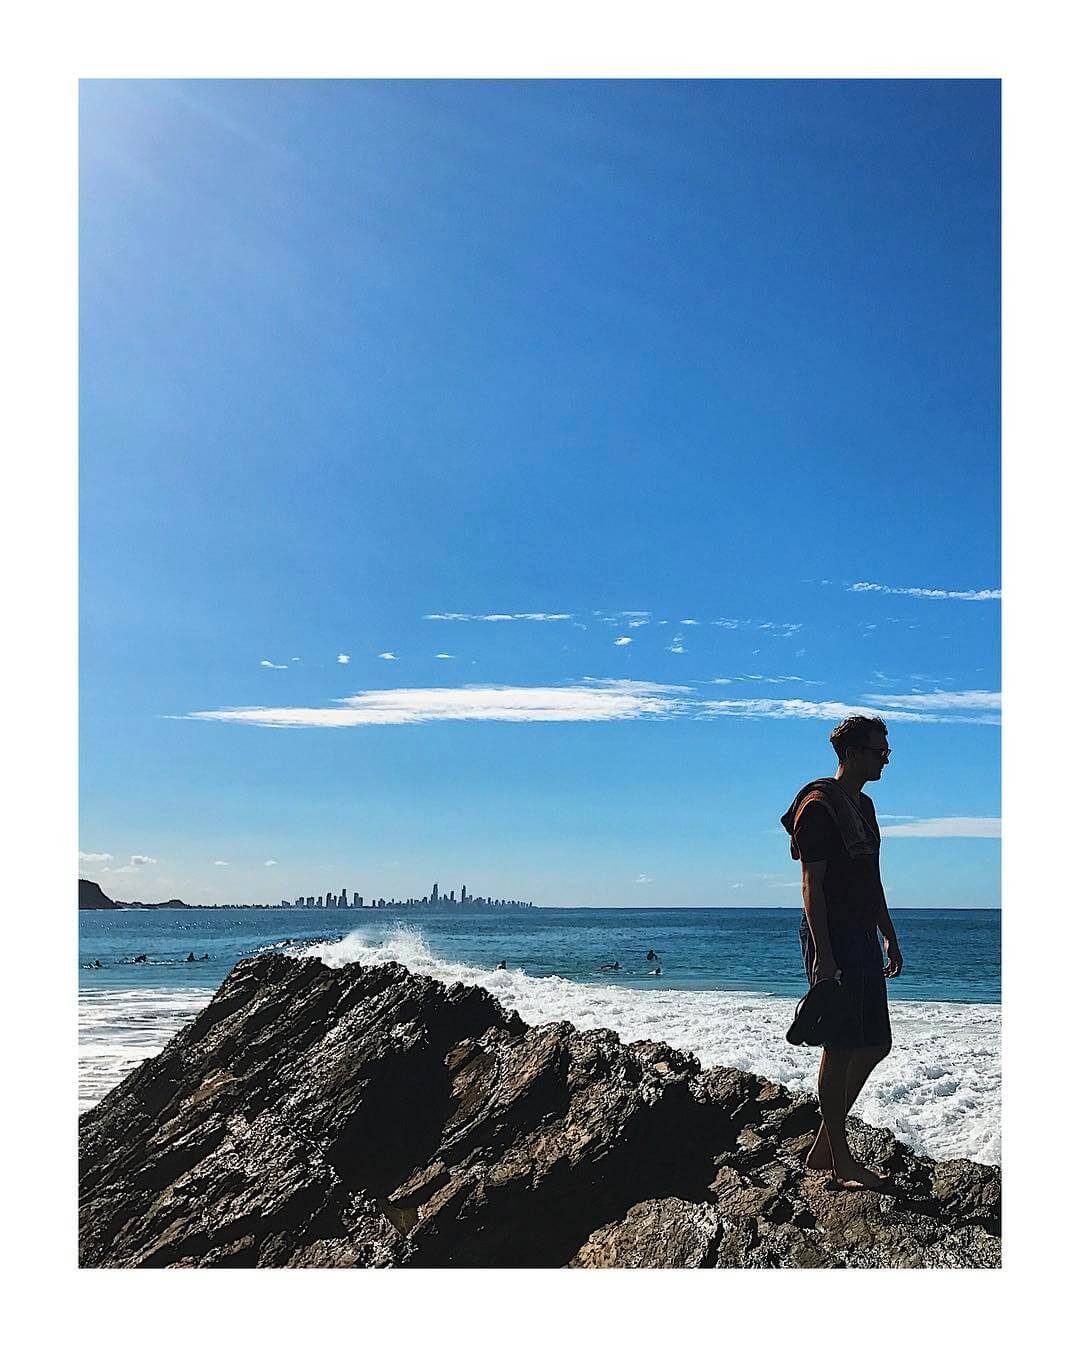
If all else fails, this is the one photography tips you should remember. I always tell people that you cannot take your photos with your back against a light source – be it the sun, a lamp, anything that’s bright. There are some exceptions, of course, such as if you’re aiming to take a silhouette photo – like this photo below where I didn’t mind that the subject was covered by shadow because I wanted to bring more attention to the scenery in the background.
So next time you take a photo, make it a habit to see where the sun is and try to position yourself opposite of it.
Which brings me to my next point…
4. Time of the day matters… a lot.
Though sometimes it can’t be helped, I don’t like taking photos in the middle of the day when the sun is directly on top of you. This tends to cast harsh shadows and it doesn’t look very flattering on photos.
Instead, I prefer to take pictures in the morning or a few hours before sunset, where the sky tend to be more beautiful, colorful and the natural light are softer and gold/warm-toned. As such, in the photography world, this time frame is often referred to as “Golden Hour“.
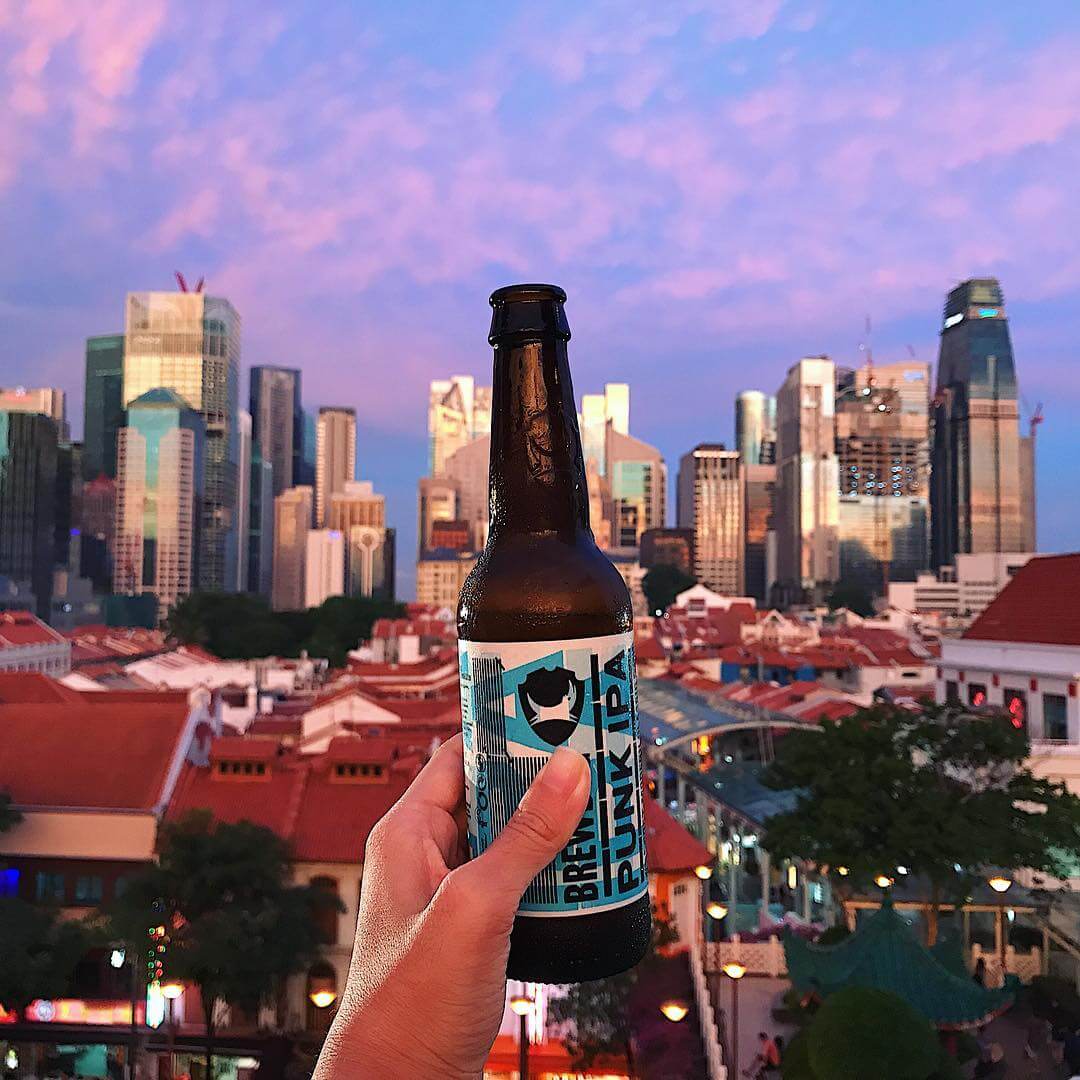
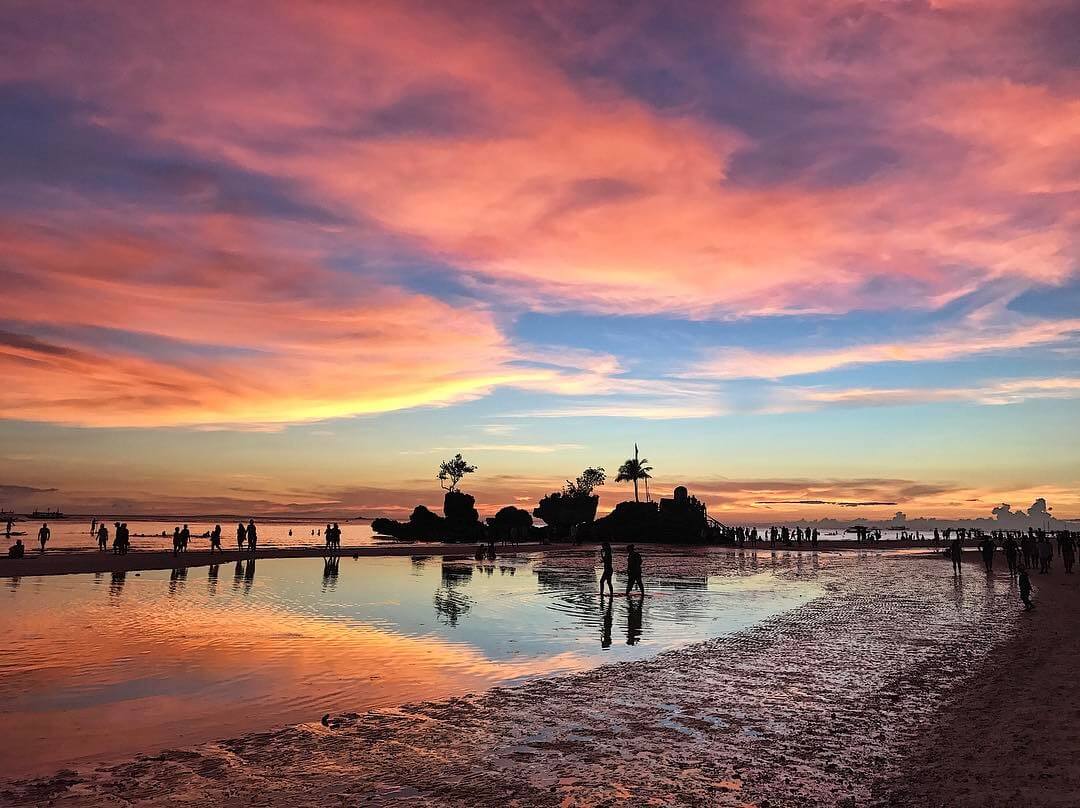
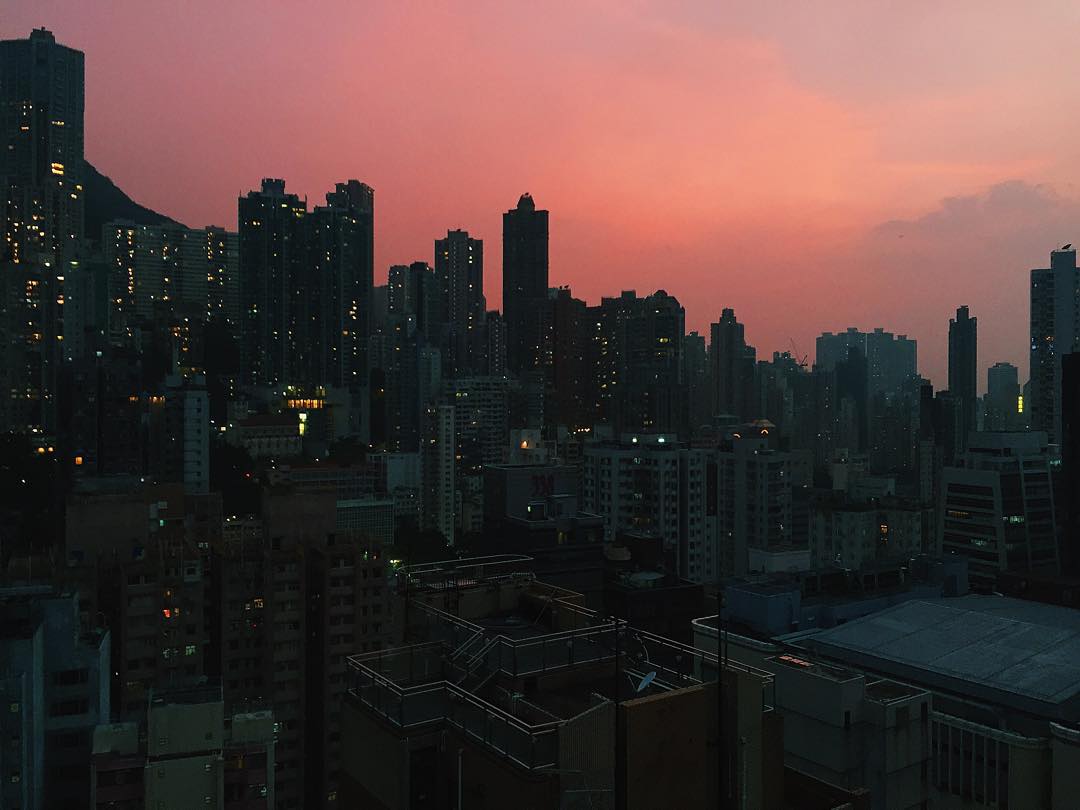
There is also another terminology called “Magic Hour” which is right before sunrise or right after a sunset and tends to produce photos that are whimsical. This was taken during magic hour in Boracay, Philippines
And here is another one from a rooftop in Hong Kong
Go an extra mile: Research ahead
If you’re traveling and planning to visit certain sites, try to research ahead of time where your subject is facing, then arrange your visit accordingly. For example: if your subject is facing east, then you definitely want to go in the morning to catch the morning golden hour. Pay attention to the weather forecast, and be patient if the sun doesn’t come out.
5. Make sure you get the focus and exposure right where you want it
This might be getting a bit technical… but my favorite iPhone camera feature is the tap-to-focus feature and AE/AF lock. AE stands for Automatic Exposure (how much light is in the image) and AF stands for Automatic Focus (where you want things to be sharper). This is really easy to achieve – all you have to do is tap on the subject you want to focus on, and give it a long press until a yellow box appears over your camera viewer. Like this:
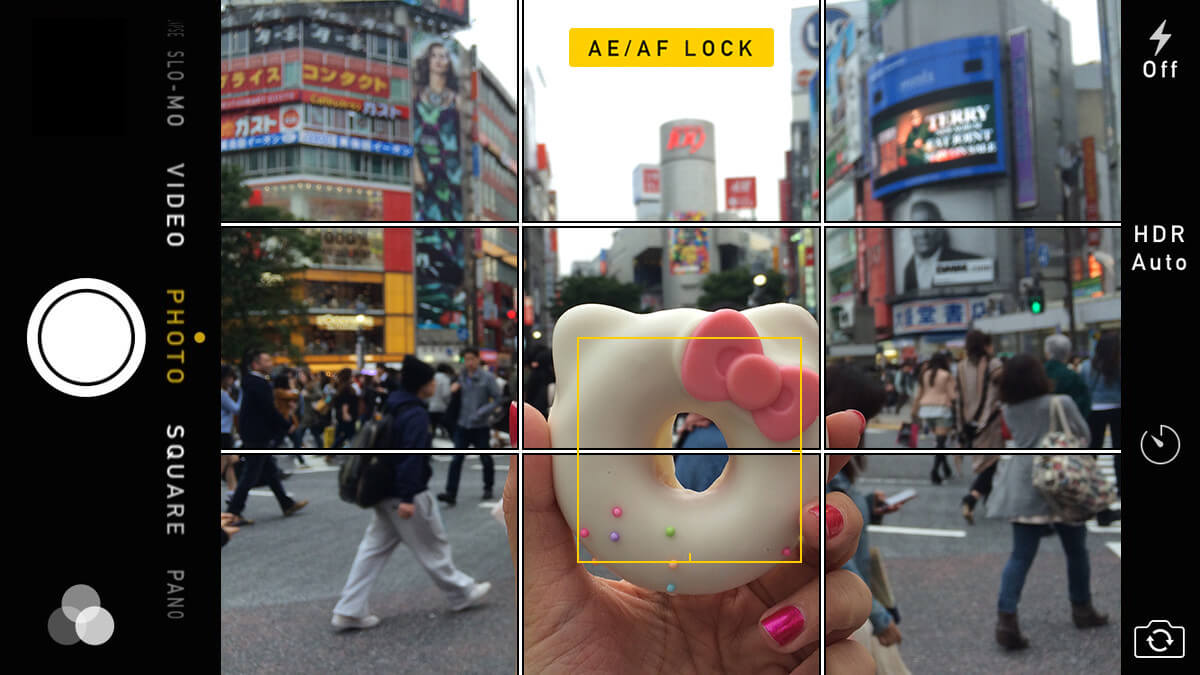
You can then correct your composition until you get the perfect shot. Keep in mind that you must maintain the same distance from your subject once the lock has been activated. Changing the distance while the focus is locked will make your subject out of focus and you have to re-do the AE/AF lock.
Go an extra mile: Advanced Controls
In most lighting condition, AE/AF lock feature works well. However, for times when the light just refuses to work with me, I use an app called Camera+ for iPhone for further control of my photos. The app allows me to lock the focus and exposure separately. That way, while taking the photo you can arrange your focus and exposure points so that you don’t lose details to overexposure while still getting the focus correctly. For more info on these controls, this article explains it much better than I can!
5. Experiment with different angles and point of view
The other most important tip I have is: Move around and change your angles! Sometimes you just have to experiment with a different viewpoint to get the best shot.
Here, I try to illustrate several photos I took before settling on the one that I ended up posting on Instagram. The process didn’t actually take long at all (I believe it was about 5 minutes). I simply crossed the road, looked up, and thought that this was the better angle.

Go an extra mile: Get inspirations from Instagram and other photographers
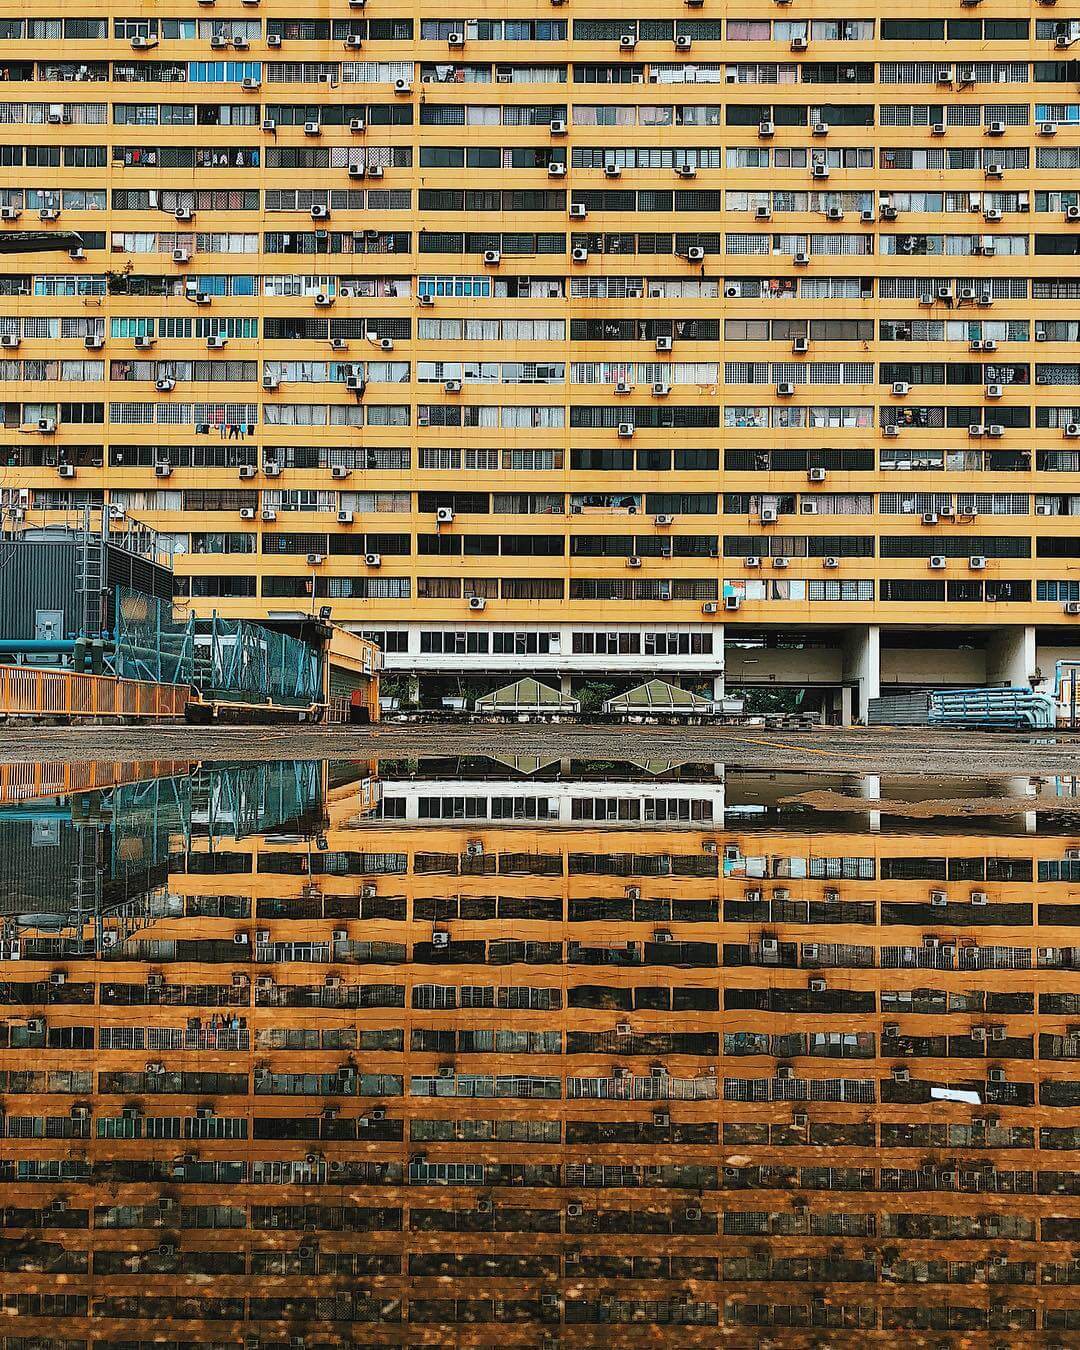
One thing I like to do before travel is to look through the geotag of a location I’m going to visit. I’m usually looking for photos that catch my eyes and bookmark them so that I can reference back to it when I actually visit the location. Then I either try to mimic the same angle or spin-off of my favorite photos for editing practice.
The image below is probably one of the most popular angles of People’s Park Complex in Singapore, but getting the shot itself and editing helped me hone my photo editing skills.
Post-processing: Get the editing apps ready
Editing photos after it’s taken is referred to as “post-processing”. Even if the composition of the photo you originally took is off, sometimes a little post-processing can still help save it.
As a rule of thumb, I try not to over-process photos because this causes the photo to appear less genuine. The most important thing about travel photos is that your image should appear crisp and clear, though this all depends on your own editing style.
1. The basic image editing tips
I use VSCO Cam and Instagram native app for all my editing purposes. They are both very simple apps and I believe they have the best filters and editing capabilities. The editing tools I love using is brightness/exposure and sharpness. I usually try to bump the sharpness to 50 – 70% and this really helps to make the image appear crisper. I also tend to prefer to adjust brightness and sharpness using Instagram more than VSCO as I feel Instagram gives a subtler edit.
As for filter, I always go to VSCO. The filters I kept going back to is called A7, A8, C7 and C8. Whenever I apply a filter, I never go full strength as it might alter the photo too much, but a little bit (say, 40-50% strength) goes a long way to make the photo stand out in a subtle way.
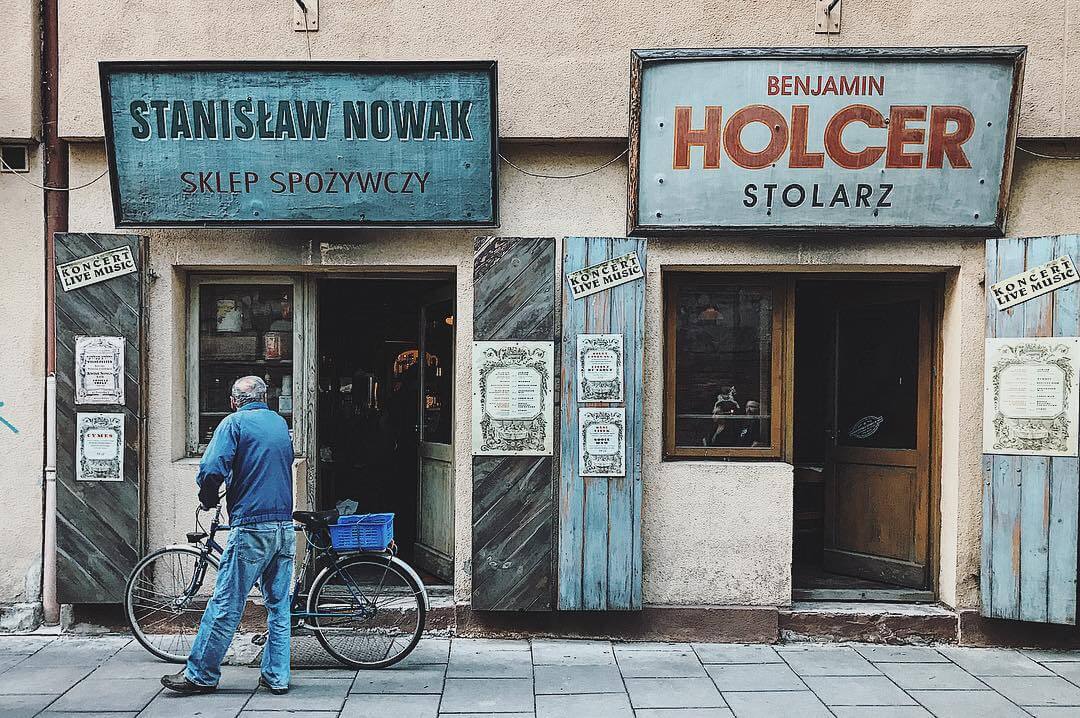
Another tool I love and use a lot is from Instagram native app, called Lux effect. When used moderately, it does wonders to your images in bringing out more colors, sharpness, and textures. I used Lux effect on the photo below to help bring out the wooden texture of the building signage, as well as the folds of the jeans worn by the man.
2. Don’t be afraid to correct the alignment of your photos
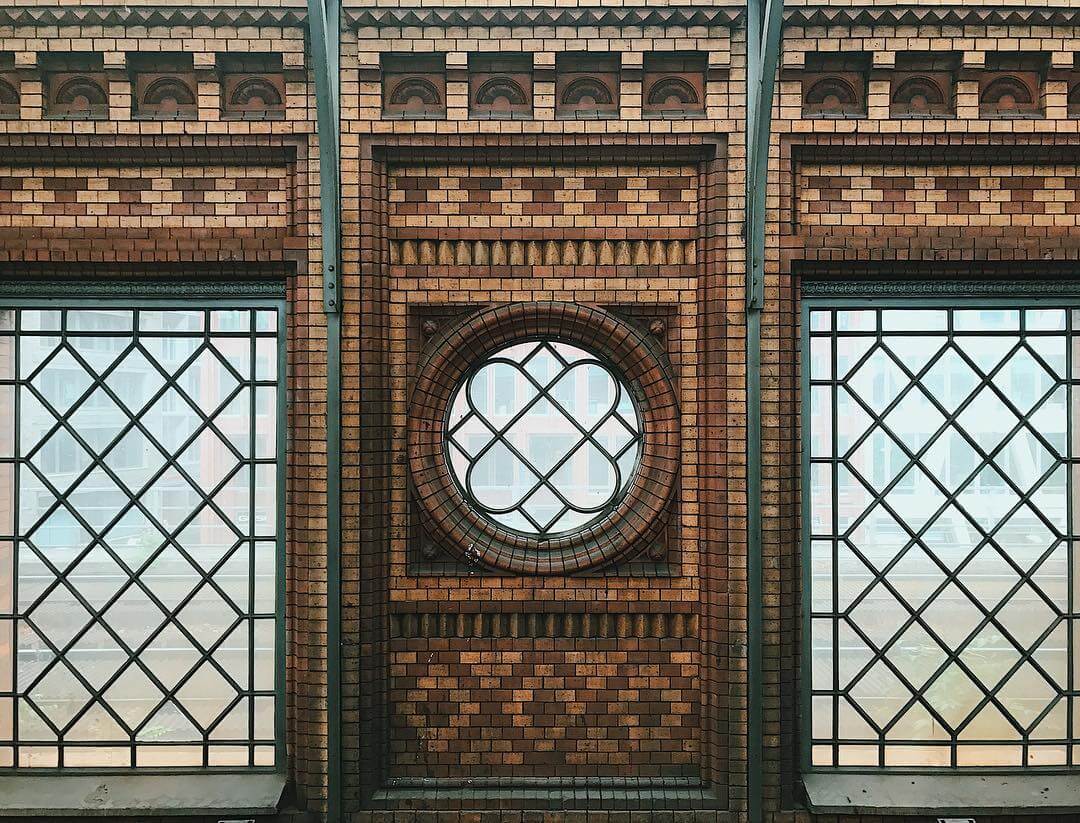
As I said before, one of the styles I adore is symmetry. As such, I’m a huge fan of the tilt/rotate, straighten, X-skew and Y-skew tool that you can find in most photography apps these days, to achieve that perfect symmetry!
I use tilt/straighten to correct any crooked-ness within my photos – sometimes it doesn’t have to be perfectly straight, just to get it to a point where it feels more balanced. I use the X-skew and Y-skew for a similar reason – to bring more balance to the photos. Basically, the skew tools allow you to correct the perspective of your shot so that it appears more straight and pleasing to the eye. It could be that my image was slightly heavier to the right/left or top/bottom, and the skew tools could really make a difference.
This image I took in a train station in Berlin was originally slightly crooked and not very symmetrical as I took it at a slight angle, but using a combination of tilt, x-skew and y-skew I managed to make it look symmetrical.
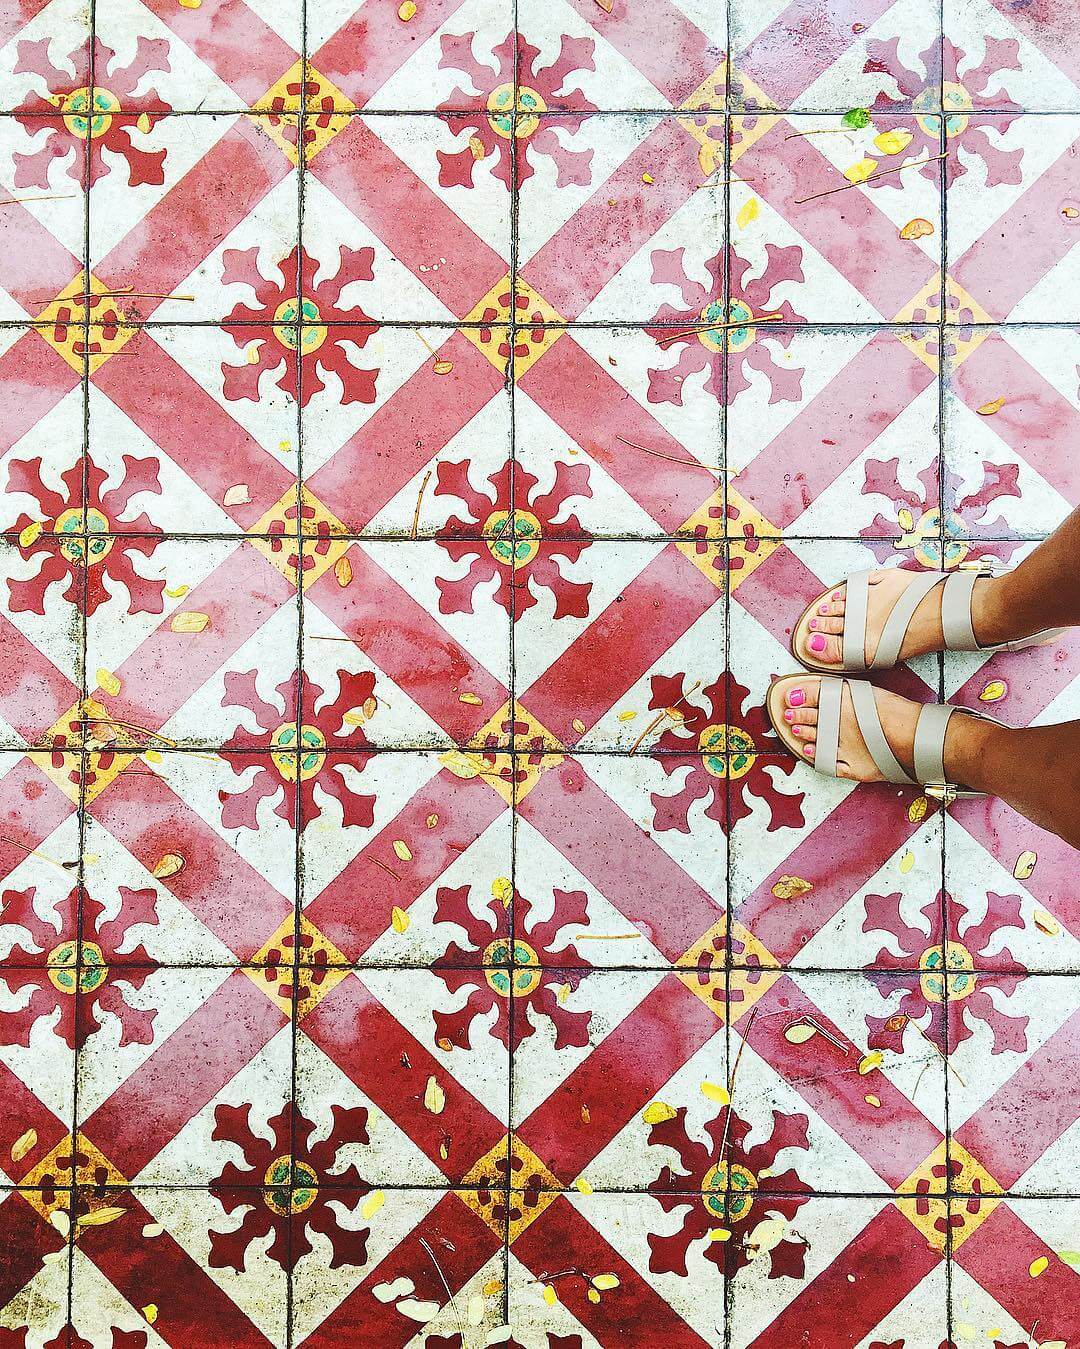
Similarly, this shot of square tiles was near humanly impossible to be taken as straight as it looks
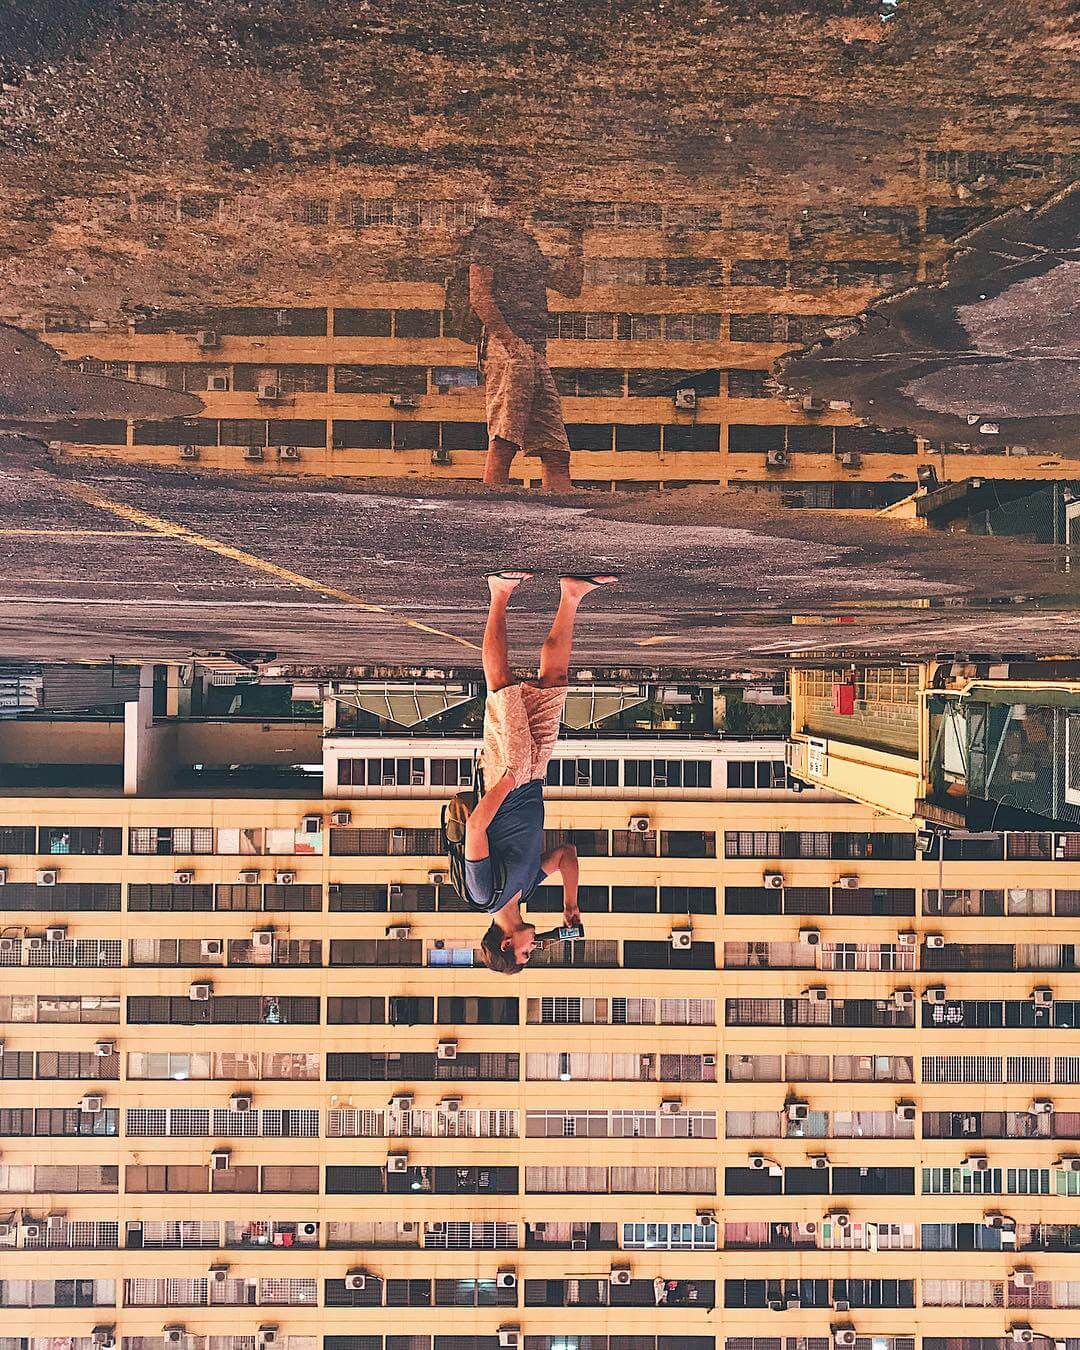
Sometimes, I use rotate to get a creative with my photo angles. Take this image below for example – of course, this image was originally taken upright but I find that rotating it 180 degrees makes a much more interesting photo.
3. Minimize distractions
I use crop deliberately to frame my subject better. Cropping also helps to create a more zoomed-in effect, so the attention of your viewer is directed to where you want them to look.
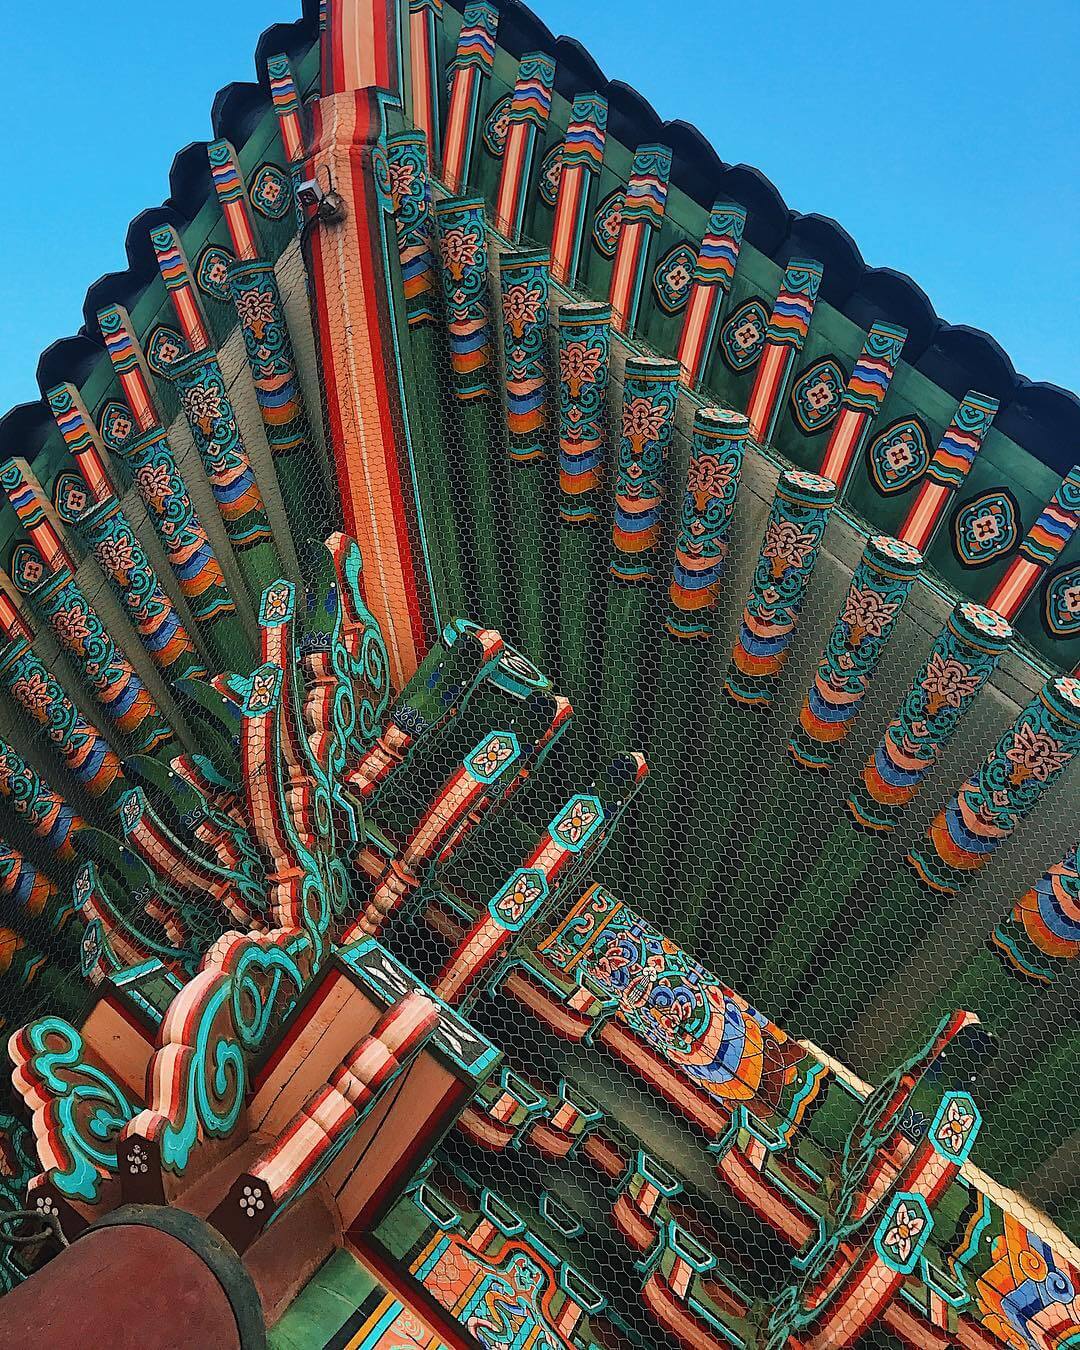
This photo I took in Seoul was originally landscape, but I find that portrait orientation would help bring out the details more when viewed from a mobile phone. So I rotated the photo and made it portrait orientation instead, and cropped it for better focus.
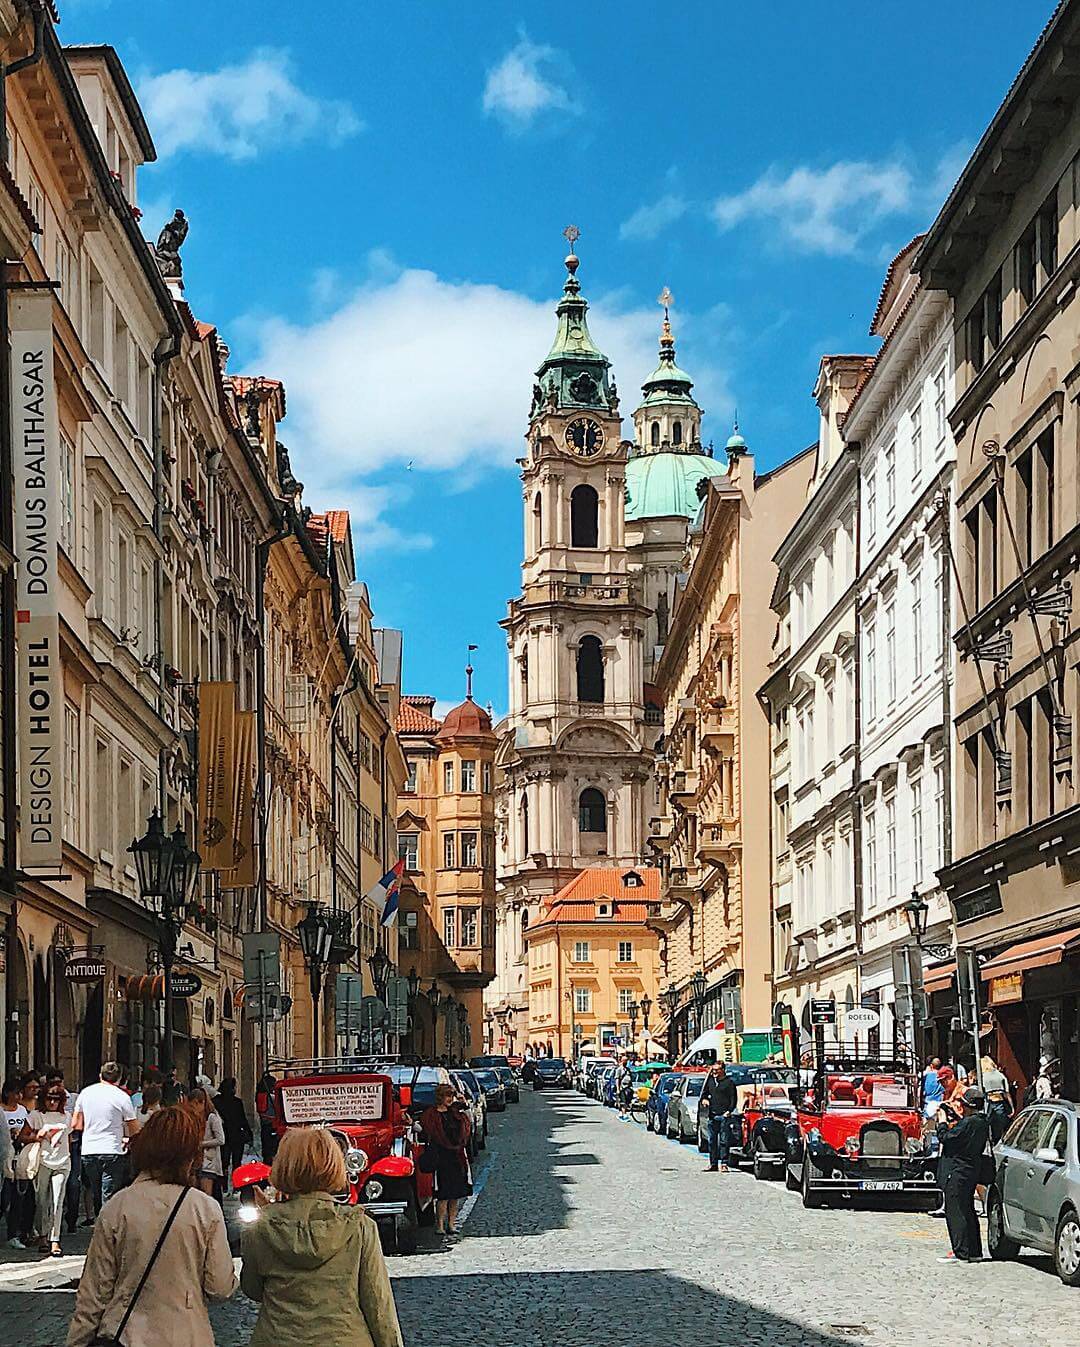
Similarly, this photo I took in Prague was also taken as landscape and from afar, but I wanted to highlight the building and the street itself, so I cropped it to look like it was taken from much closer.
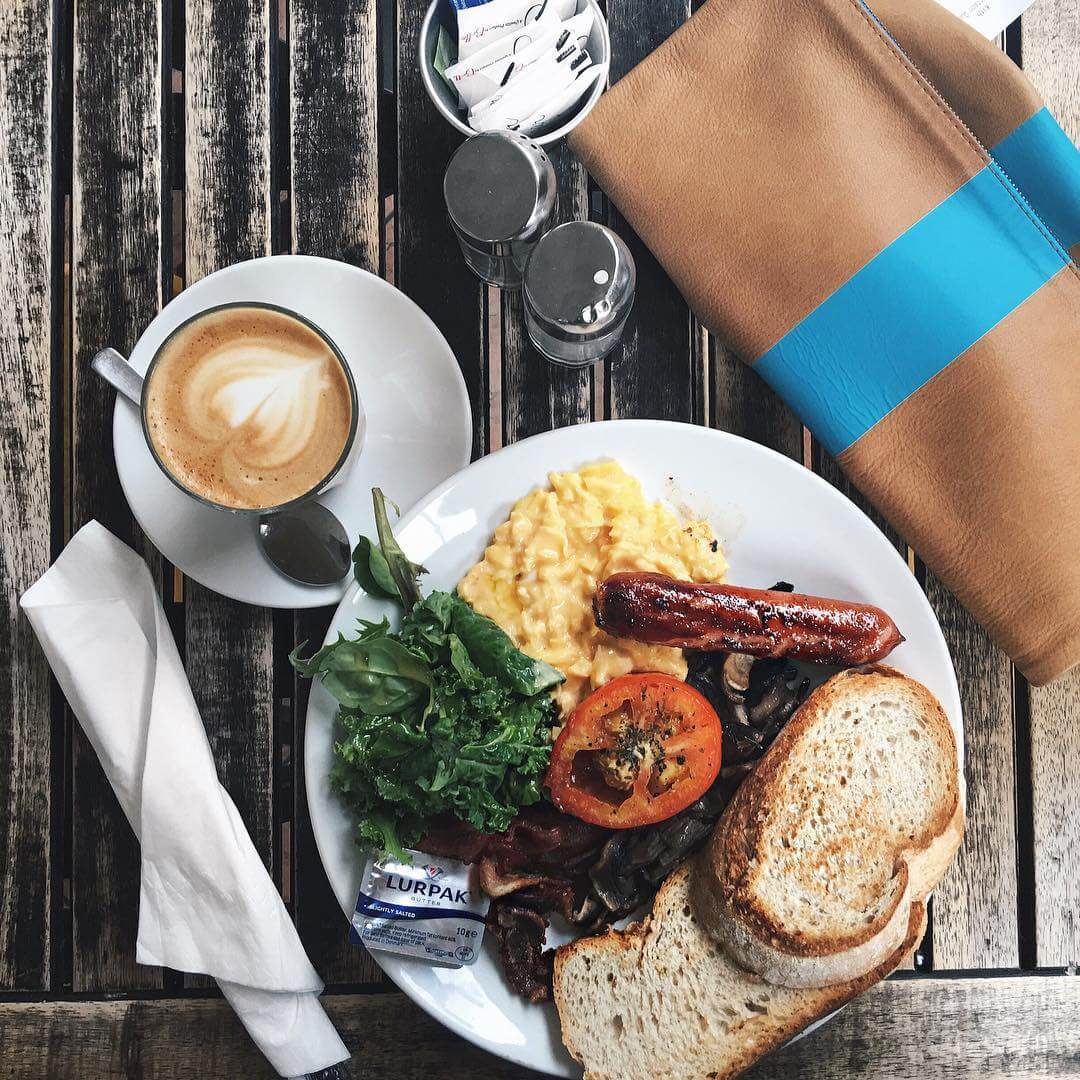
I use FaceTune‘s whiten tool to help tone down the colors at a certain spot if I feel the image is already too distracting. In the
4. Don’t shy away from experimenting: Try adding borders and effects!
While I try not to post-process too much for photos on @GirlEatWorld, I REALLY go to town with photos I post to my personal Instagram (@ichabunni) which I treat as a photo editing playground.
If you scroll through my personal Instagram, you’ll see that my editing style changes from time to time. There was a period when I was obsessed with light leaks, a period of time where I used white borders on square photos, and there was another time where I alternate between horizontal and vertical photos with thick white borders.
This might not be for everyone, but
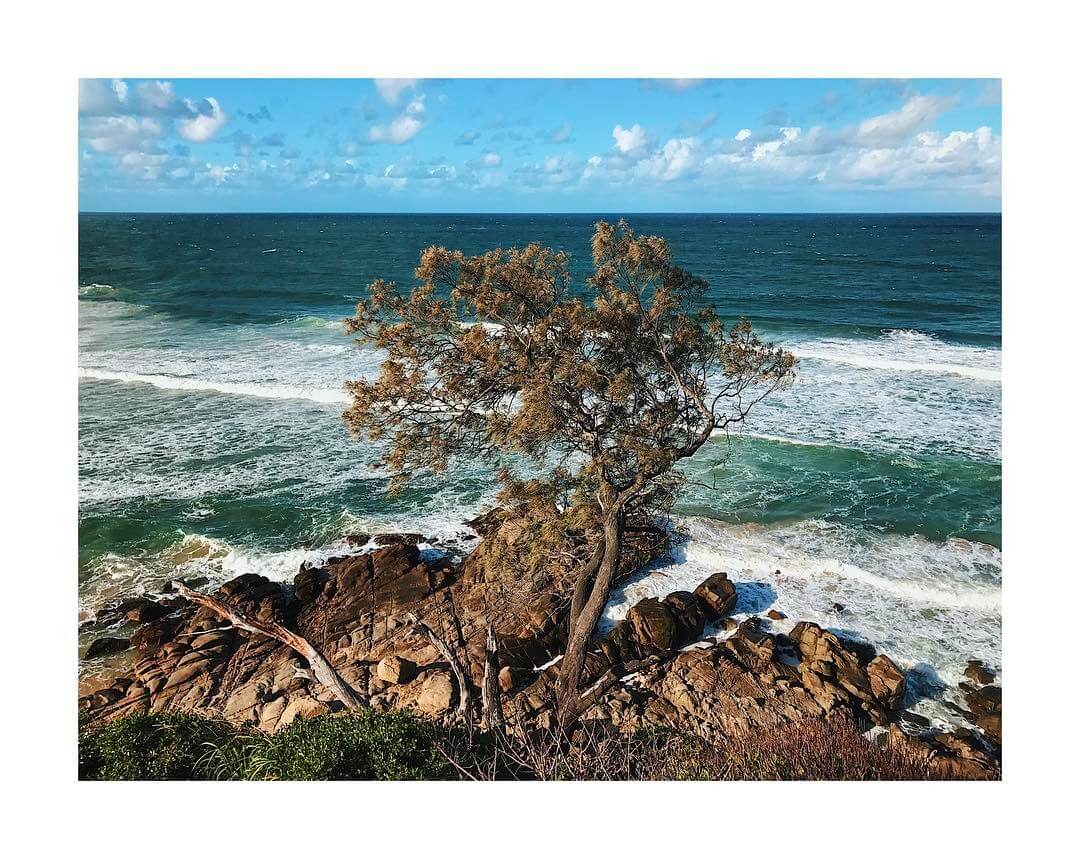
I love how the white border makes my feed look like its hung in an art gallery. (Not saying my photos are art… but… you know…)
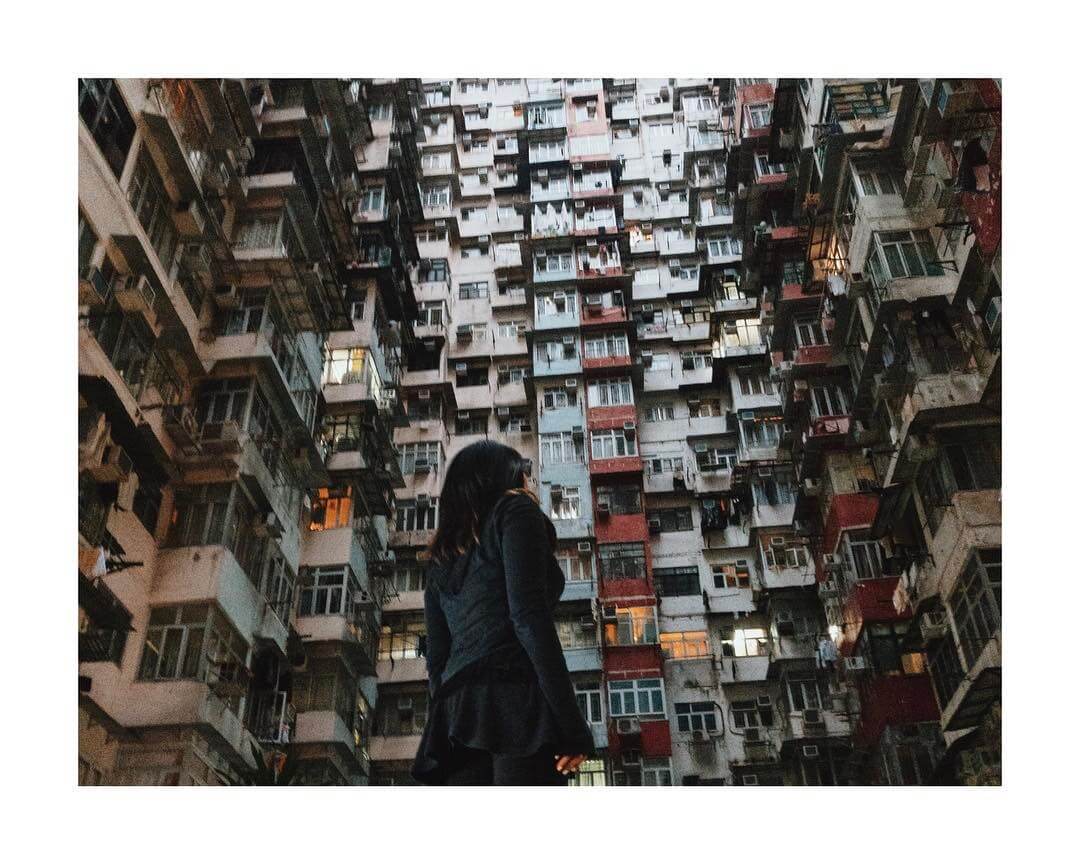
At the end of the day, the single most important advice I can give you is to practice editing as many photos as you can. Eventually, you’ll find the style you like and editing will seem like a breeze as it becomes your second nature.
And that’s all I have to say about photo editing on mobile! Phew, that was quite long, wasn’t it? I hope it was worth the wait and that you find this post useful. Please leave me a comment below if you do, and if you want to know anything else – feel free to ask me!
Until next time.

I love how you shared your whole process! The tips on using natural light and editing apps were super helpful. I can’t wait to try some of these techniques on my own photos. Thanks for the inspiration!
I love this! I take and edit all of my Instagram photos with an iPhone!
Very informative! Learned so much from this article..
Thank you very much.
Thanks for the great post
I was really confused about my Instagram editing. But this article cleared my confusion. Thanks! Thanks a lot.
I’m glad!
I love this. Thanks for all the tips ❤️
Glad you found them useful Kristin!
Have you tried this tool Melissa?
Straightforward, informative, and told the way an amateur would appreciate it but results are like that of a pro. Love this article, Miss! I hope to meet you in person someday ❤️
i’m glad you liked it 😀
Nice of… everything so far i always like everything you do!! Thanks for the lesson! Hope can meet you in person someday
Thank you!
Sangat menginspirasi saya! Terimakasih telah berbagi ❤
sama sama
Thanks for all the tips, super useful :-)!
Thank you Marie! Glad you found it useful!